Last Updated on December 2, 2025 by teamobn
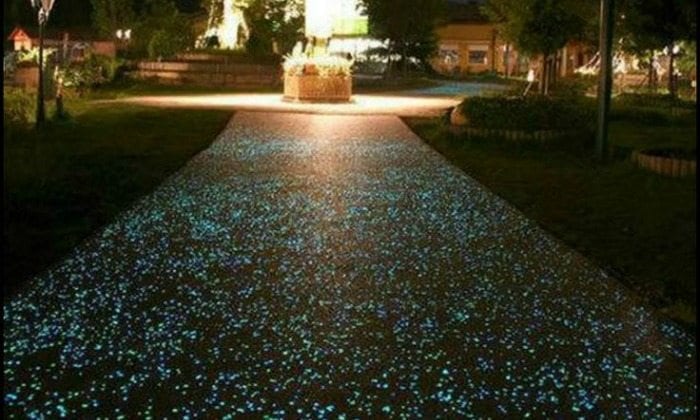
Glow in the dark stepping stones can make your yard safer and more beautiful at night. They light up paths so you can see where you are walking, and they add a fun, magical look to your garden.
Contents
- 1 At a Glance:
- 2 Why Use Glow-in-the-Dark Stepping Stones in Your Yard
- 3 DIY Glow-in-the-Dark Stepping Stones
- 3.1 What Are the Materials Needed to Create a DIY Glow-In-The-Dark Stepping Stone
- 3.2 What Are the Tools Needed to Create a DIY Glow-In-The-Dark Stepping Stone
- 3.3 How to Make Glow-in-the-Dark Stepping Stones: Step-by-Step Instructions
- 3.3.1 Step 1. Prepare Your Work Area
- 3.3.2 Step 2. Set Up the Molds
- 3.3.3 Step 3. Mix the Concrete
- 3.3.4 Step 4. Add the Glow in the Dark Powder
- 3.3.5 Step 5. Fill the Molds
- 3.3.6 Step 6. Smooth and Decorate the Surface
- 3.3.7 Step 7. Let the Stones Cure
- 3.3.8 Step 8. Remove the Stones From the Molds
- 3.3.9 Step 9. Seal the Surface (optional)
- 3.3.10 Step 10. Install the Glow in the Dark Stepping Stones
- 3.3.11 Step 11. Charge and Enjoy the Glow
- 4 Glow-in-the-Dark Stepping Stones Designs
- 5 Safety Tips When Working With Concrete and Glow Pigments
- 6 Final Thoughts
At a Glance:
To make glow-in-the-dark stepping stones, you mix concrete with glow-in-the-dark powder, pour it into a mold, let it cure, and then place the stones along your path. During the day, the stones charge in the sunlight, and at night they give off a soft glow that marks your way.
This project is a simple DIY idea that you can customize with different shapes, designs and colors.
Why Use Glow-in-the-Dark Stepping Stones in Your Yard
Glow-in-the-dark stepping stones do more than just look pretty. They can help with safety and reduce your energy use.
- Fun for kids and families
- Children are often excited by glowing paths in the dark. Making the stones together can be a family project, and kids enjoy following the lit trail at night.
- Better safety at night
- A glowing path makes it easier to see where you are walking in the dark. This can help prevent trips and falls on uneven ground, tree roots or garden tools.
- More curb appeal
- The gentle glow of these stones gives your yard a special night time look. Guests will notice the path when they arrive in the evening. It also makes quiet walks in the garden feel more relaxing.
- No power needed
- Glow in the dark pigments store light from the sun or from outdoor lights during the day. At night they release that energy as a soft glow. You get light without wiring, batteries or extra electricity.
- Lots of design choices
- You can make stones in many shapes and sizes. You can choose simple squares and circles, or fun shapes like stars, moons, shells or leaves. You can also carve or stamp patterns into the surface.
- Easy to install and move
- Once the stones are cured, you simply set them into the soil or sand along your garden path. If you want to change your layout later, you can move them to a new location.
DIY Glow-in-the-Dark Stepping Stones
Most people can make a small batch of glow in the dark stepping stones in one afternoon, for a material cost that is often between thirty and sixty dollars depending on the size and amount of glow pigment used.
What Are the Materials Needed to Create a DIY Glow-In-The-Dark Stepping Stone
- Concrete mix
- Stone molds or forms
- Glow in the dark powder or pigment that is safe for concrete and outdoor use
- Cooking oil or mold release spray
- Optional
- Small stones, shells, leaves, stencils or stamps for decoration
- Clear outdoor sealer or resin for extra protection
What Are the Tools Needed to Create a DIY Glow-In-The-Dark Stepping Stone
- Wheelbarrow or large bucket
- Gardening hoe or sturdy mixing stick
- Measuring cup or scoop
- Trowel, old ruler or flat piece of wood for smoothing
- Gloves, safety glasses and a dust mask
Click on any image to start the lightbox display. Use your Esc key to close the lightbox.![]()


How to Make Glow-in-the-Dark Stepping Stones: Step-by-Step Instructions
Follow these steps to create your own glowing path. Always read the instructions on your concrete mix and glow pigment before you start.
Step 1. Prepare Your Work Area
- Choose a flat surface where spills will not cause problems.
- Lay down plastic, an old tarp or cardboard to protect the ground.
- Make sure the space has good airflow so you are not breathing in too much dust or fumes.
Step 2. Set Up the Molds
- Place your stone molds on the covered surface.
- Lightly coat the inside of each mold with cooking oil or a release spray. This makes it easier to remove the stone later.
You can use store bought stepping stone molds, plastic trays, large lids, or homemade wooden frames.
Step 3. Mix the Concrete
- Pour the dry concrete mix into your wheelbarrow or bucket.
- Add water slowly while mixing with the hoe or mixing stick.
- Keep adding water until the mixture feels like thick oatmeal. It should be wet enough to pour, but not runny.
Follow the concrete bag for the right water ratio, and avoid making the mix too thin, or the stones may crack.
Step 4. Add the Glow in the Dark Powder
- Check the glow powder label for the recommended amount.
- A simple starting point is to use about 10 to 20 percent glow pigment by volume compared to the dry mix.
- Sprinkle the pigment over the wet concrete.
- Mix very well until the color looks even throughout the batch.
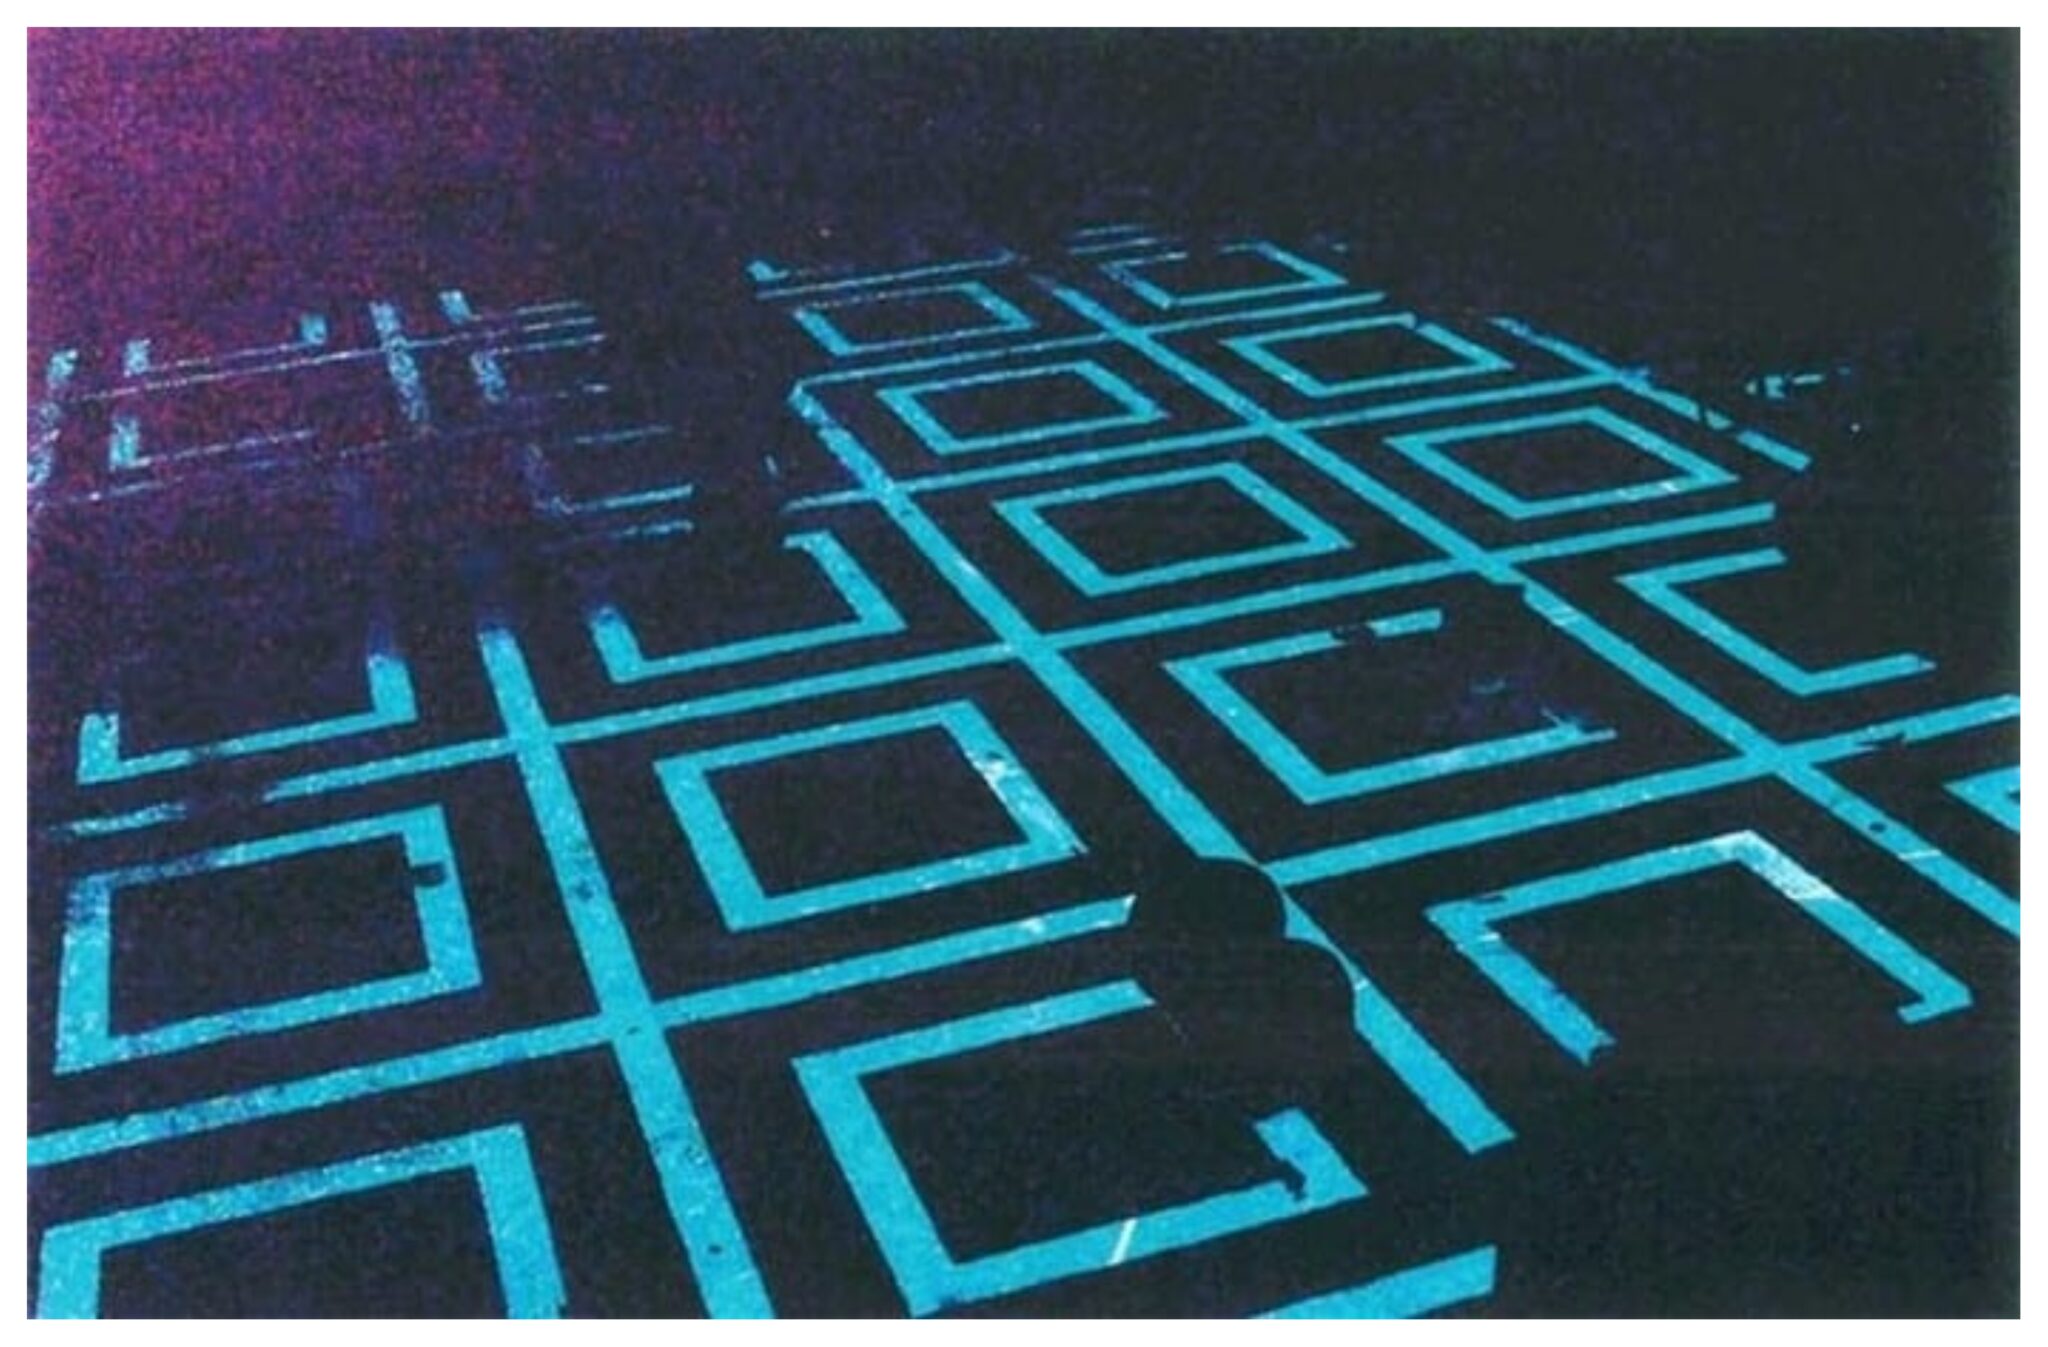
The better you mix, the more evenly the stones will glow. When sourcing powder, make sure it can be mixed with concrete. Those that contain earth illumination seem to bring the best quality of glow. By doing this, you’ll ensure that your glow-in-the-dark stepping stone project glows brightly and evenly in the dark.
Step 5. Fill the Molds
- Pour or scoop the glowing concrete into each mold.
- Tap the sides and bottom of the mold gently to bring air bubbles to the surface.
- Fill the mold to your desired thickness. Aim for at least 1.5 to 2 inches thick so the stone is strong enough to walk on.
Step 6. Smooth and Decorate the Surface
- Use a trowel, flat stick or old ruler to level the top of the stone.
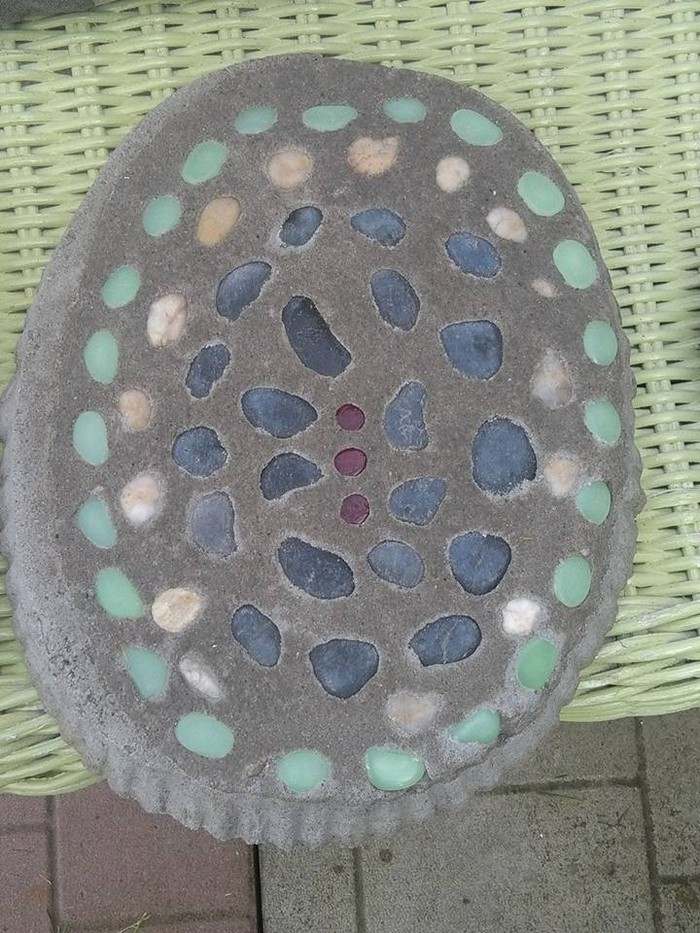
- If you want designs, press in leaves, shells, small stones or stencils while the concrete is still wet.
- You can also carve simple lines, stars or shapes with a stick or dull knife.
Anything that presses into the surface will show up in the finished stone and can catch more glow pigment.
Step 7. Let the Stones Cure
- Leave the stones in the molds in a dry, shaded place.
- Follow the curing time on your concrete mix, usually 24 to 48 hours for basic handling.
- Cover lightly with plastic if needed to keep off dust and rain.
Do not move the stones too early. They need time to harden fully so they do not crack.
Step 8. Remove the Stones From the Molds
- Once the concrete is cured, gently turn the mold upside down.
- Tap the back and sides until the stone slides out.
- If it sticks, press the edges of the mold or tap a little more, but do not force it.
Step 9. Seal the Surface (optional)
- For extra protection against weather and stains, brush or spray on a clear outdoor sealer or resin.
- Make sure the sealer is compatible with glow pigments and outdoor concrete.
- Let it dry completely according to the product instructions.
A sealer can help the stones stay bright and easier to clean.
Step 10. Install the Glow in the Dark Stepping Stones
- Mark your path by laying the stones on the ground where you want them.
- For each stone, dig a shallow hole slightly larger than the stone.
- Add a thin layer of sand or fine gravel at the bottom for drainage.
- Place the stone in the hole and adjust until it is level with the ground.
- Pack soil, sand or gravel around the edges to hold it in place.
Space the stones at a comfortable walking distance, usually one normal step apart.
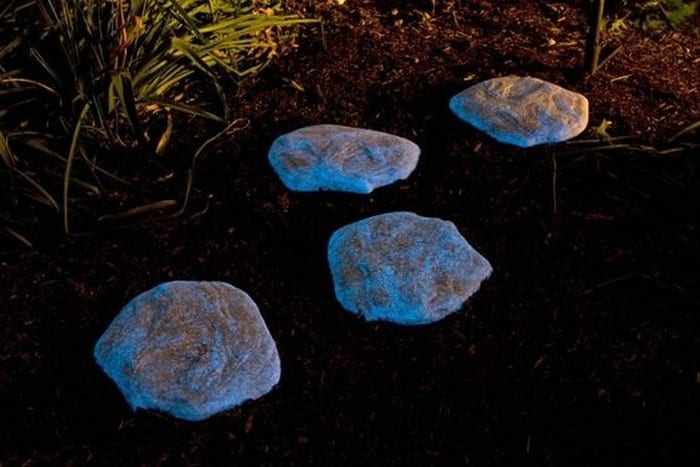
Step 11. Charge and Enjoy the Glow
- Place the stones where they get several hours of bright daylight or strong outdoor light.
- After sunset, they should glow for several hours.
- If you notice they are dim, try moving them to a sunnier spot or cleaning off dirt and debris.
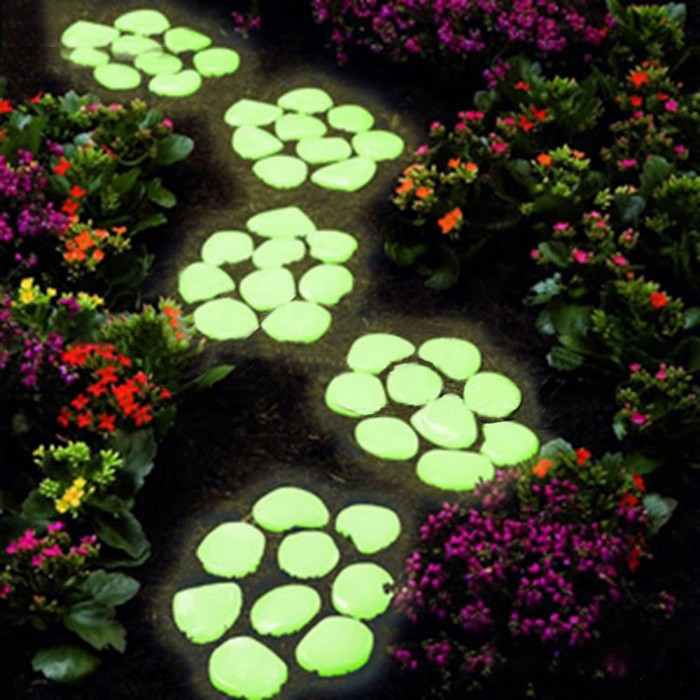
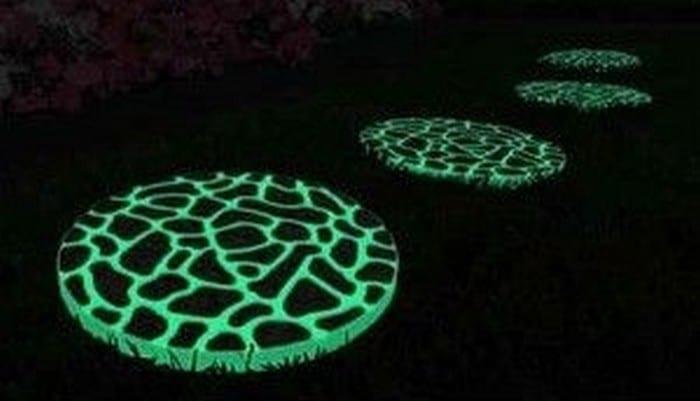
Glow-in-the-Dark Stepping Stones Designs
You can keep your stepping stones simple, or turn them into a creative feature in your garden. Here are seven design ideas.
- Starry night path
- Use round or square stones and press in small star shapes, moons or dotted patterns. With glow pigment mixed in, the path will look like a glowing sky on the ground.
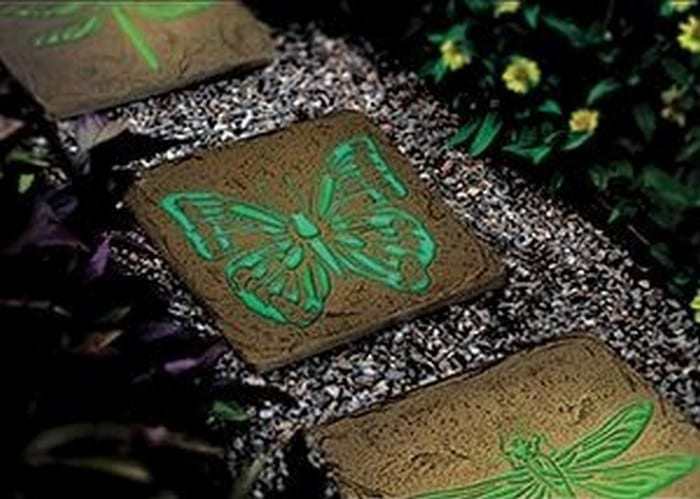
- Enchanted garden
- Make stones shaped like flowers, butterflies or dragonflies. Highlight petal lines and wings with extra glow pigment or glow paint on the surface once the stone is dry.
- Calm, zen garden path
- Use basic rectangular stones with clean, straight edges. Add thin glowing lines near the edges or a simple circle in the center to keep the look peaceful and minimal.
- Ocean escape
- Shape stones like shells, starfish or waves. Press in real shells or wave patterns. At night, the glowing curves will look like gentle light on water.
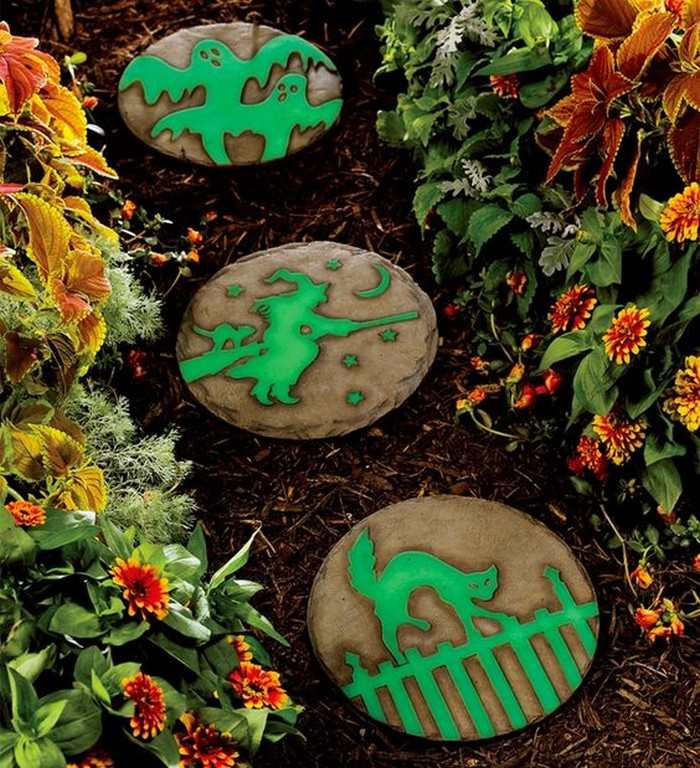
- Mystical forest trail
- Carve simple animal shapes into the stones, such as owls, rabbits or deer. Add glow pigment more heavily in the eyes and outlines so the creatures seem to appear at night.
- Moon phase walkway
- Make a series of round stones and carve the phases of the moon into each one. Use extra glow pigment in the moon shapes. Lay them out in order along the path from new moon to full moon.
- Fantasy wonderland
- Add fairy, mushroom or castle designs. Paint or stain parts of the stone after it cures, then use glow paint only on small accents like windows or fairy wings for a layered effect.
You can mix and match these ideas, or invent your own patterns that match your yard and your style.
Safety Tips When Working With Concrete and Glow Pigments
Crafting glow in the dark stepping stones is a fun project, but you should always keep safety in mind.
- Work in a well ventilated area
- Concrete dust and some pigments can be irritating if you breathe them in. Open windows or work outdoors where fresh air can move through.
- Wear protective gear
- Use gloves to protect your skin, safety glasses to shield your eyes, and a dust mask when handling dry concrete and powders.
- Read and follow product directions
- Every concrete mix, glow pigment and sealer is a little different. Follow the labels for mixing ratios, curing times and safety warnings.
- Keep your workspace clean and organized
- Wipe up spills, put tools back in one spot and clear paths around your project. This helps prevent trips, slips and other accidents.
- Use tools carefully
- Only use tools that are in good condition. Follow safe practices with trowels, molds and mixing tools. Do not leave sharp or heavy tools where someone can step on them.
- Handle chemicals with care
- If you use sealers or resins, keep them away from children and pets. Avoid getting them on your skin or in your eyes. Wash your hands well when you are done.
- Protect your skin
- Wet concrete can be rough on skin. Wear long sleeves and pants if you are working for a long time or if you have sensitive skin.
- Allow full curing time
- Do not walk on or move the stones until they are fully cured. This protects both the stones and anyone who might step on a weak surface.
By following these simple safety steps, you can enjoy your DIY project without unnecessary risk.
Frequently Asked Questions About Glow in the Dark Stepping Stones
1. How long do glow in the dark stepping stones glow?
Most glow in the dark stepping stones glow for about 4 to 8 hours after a full day of bright light.
The exact time depends on the quality of the glow pigment, how much pigment you used and how much sunlight or strong light the stones received during the day.
Placing the stones in open, sunny areas and choosing high quality outdoor glow pigment will give you the best results.
2. Can I make glow in the dark stepping stones myself?
Yes. Glow in the dark stepping stones are a very doable DIY project.
You need concrete mix, glow pigment, molds and basic tools for mixing and smoothing. If you follow clear steps and allow enough curing time, you can make sturdy stones at home.
For extra durability and weather resistance, you can add a clear outdoor sealer or resin on top once the concrete is fully cured.
3. Are glow in the dark stepping stones safe for pets and children?
Glow in the dark stepping stones are generally safe for pets and children when made and used correctly.
Make sure the glow pigments and sealers you choose are labeled as non toxic and safe for outdoor use. Always supervise young children and pets around wet concrete and fresh sealers.
Once the stones are fully cured and any sealers are dry, they should be safe to walk and play around.
4. How do you install glow in the dark stepping stones in a yard?
Installing them is similar to installing regular stepping stones.
- Plan your path and place the stones on the ground to test the spacing.
- Dig a shallow hole for each stone, a little bigger than the stone itself.
- Add a thin layer of sand or fine gravel at the bottom of the hole.
- Set the stone in place, check that it is level, and then pack soil or sand around the edges.
Make sure the stones are stable so they do not rock when stepped on.
5. Do glow in the dark stepping stones require maintenance?
Glow in the dark stepping stones need only simple care.
- Rinse them with water and mild soap if they get dirty.
- Avoid harsh cleaners or stiff metal brushes that can scratch the surface or damage the pigment.
- Keep plants, leaves and debris off the stones so they can receive plenty of light during the day.
If the glow fades over time, cleaning the surface and reapplying a thin coat of glow paint or sealer can refresh the effect.
6. Can I use glow in the dark stepping stones indoors?
You can use them indoors for decoration, but they may not glow as brightly indoors.
Most indoor spaces do not provide as much strong light as direct sun, so the stones may not charge fully.
If you want to use them inside, place them where they receive a lot of light during the day, or near strong artificial light.
7. How do I choose the right glow pigment for stepping stones?
Look for glow pigments that are:
- Made for outdoor use
- Weather resistant and UV resistant
- Bright enough to see clearly at night
- Sold by a trusted brand with reviews
Choose a color that fits your yard. Green and aqua usually appear brightest to the human eye at night, while blue and other colors may look softer.
Final Thoughts
Glow-in-the-dark stepping stones are a smart way to combine safety and style in your yard. With a simple mix of concrete and glow pigment, plus a little planning and care, you can create a glowing garden path that is easy to follow and pleasant to look at.
Choose an outdoor-rated glow pigment that is bright, long-lasting and in a colour that fits your garden. With clear steps, basic safety habits and a few creative design ideas, you can build a path that feels unique to you and that you will enjoy both in the daytime and after dark.