Last Updated on November 19, 2025 by teamobn
Have you ever dreamt of having a tiki bar right in your backyard? A place for sunset cocktails, weekend BBQs, and lazy afternoons that feel like a vacation? Building a backyard tiki bar is an easy DIY project that adds personality, value, and serious island vibes to your outdoor space.
In this guide, you’ll learn exactly how to build a backyard tiki bar – from the frame and bar top to bamboo cladding and thatched roof – in just four clear steps.
Contents
- 1 Quick Overview: How to Build a Backyard Tiki Bar
- 2 Building a Tiki Bar DIY Project
- 3 Advantages of Building Your Own DIY Backyard Tiki Bar
- 4 5 Backyard Tiki Bar Styles to Inspire Your Design
- 5 Builder’s Tips From the Backyard
- 6 Frequently Asked Questions
- 7 The Wrap Up
Quick Overview: How to Build a Backyard Tiki Bar
To build a backyard tiki bar, start by choosing a level spot and planning the bar size (a common size is around 6 feet wide). Build a sturdy frame from 4×4 posts and 2×4 lumber, then sheath it in ¾” pressure‑treated plywood. Cover the front with bamboo panels, add a thatched or canvas roof, and finish the wood with exterior stain or polyurethane.
Most DIYers can complete the project over a weekend with basic tools and some help to lift the roof.
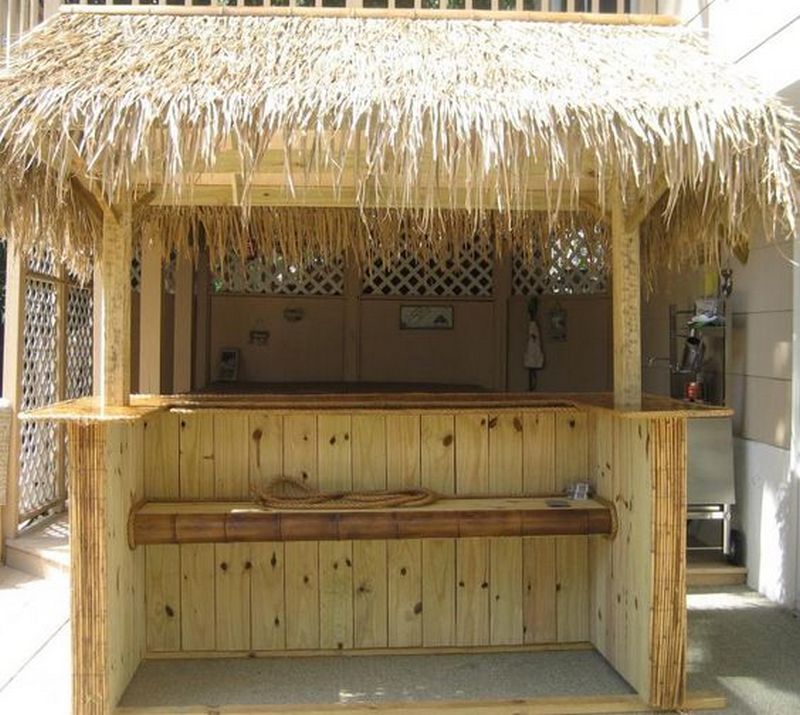
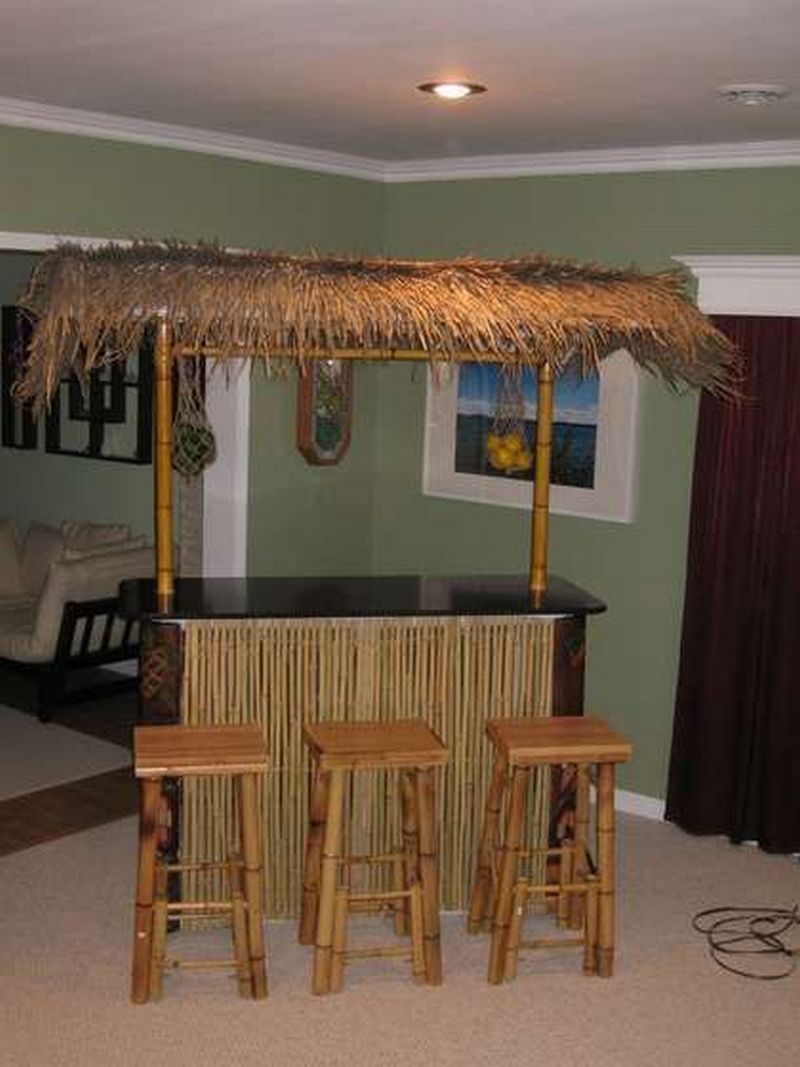
Entertaining with a tiki bar is like having guests enter an enchanted world – reminiscent of an upscale camp in a tropical paradise. Here is a small corner built to help you forget your worries – and maybe even the government’s recommended maximum units of alcohol per day!
With a backyard tiki bar, you can bring tropical paradise to your guests, no matter what the weather is like outside. If you want to go all out, you can even build a small thatched hut to serve as your tiki bar – transport your guests to another world for the evening! Make sure to stock your bar with all of the right supplies, including plenty of rum and exotic fruits.

This project may take a few days to complete, but the result will be worth the effort. Make sure to take your time and do a good job – rushing through it will only result in subpar results. If you take your time and do a professional job, you’ll be glad you did when you see the final product.
To complete this project, you will need to gather a variety of materials and tools. Be sure to have a comprehensive checklist ready before shopping, so you don’t forget any important items. This will help ensure that your project is completed successfully and without any unnecessary delays.
Building a Tiki Bar DIY Project
Before you start, gather your materials and tools. Having everything on hand makes the project smoother and more enjoyable.
What You’ll Need to Build a Backyard Tiki Bar
- ¾″ pressure‑treated plywood sheets (for bar front and top)
- 4×4 posts (for the bar structure and roof supports)
- Pine 2x4s (for framing and rails)
- Bamboo sheets or bamboo fencing (for cladding)
- 1×2 poplar boards (for trim and edging)
- Thatch (or a weatherproof thatch alternative) for the roof
- Exterior‑grade screws and nails
- Exterior wood stain or polyurethane (for weather protection)
- Concrete pavers or anchors, if you need to secure posts to the ground
Tools:
- Tape measure and pencil
- Circular saw or miter saw
- Drill/driver or screw gun
- Framing nailer and finish nailer (optional but helpful)
- Level and square
- Safety goggles and hearing protection
- Air compressor and hoses (if using nailers)
- Plastic sheeting or drop cloths (to protect surfaces while finishing)

Ahoy, fellow adventurers of the island oasis! Are you ready to embark on a journey to transform your mundane backyard into a tropical paradise? Brace yourselves, because we’re about to dive into the ultimate escapade: building your very own backyard tiki bar!
How to Build a DIY Backyard Tiki Bar?
With just a handful of materials and a sprinkle of creativity, you’ll be sipping piña coladas under the stars in no time. So, grab your hammer and let’s get tiki-fied!
Step 1: Plan Your Tiki Bar and Choose the Perfect Spot
Good planning makes the rest of the project feel effortless.
- Pick the location
- Choose a level area close to your house, outdoor kitchen, or pool.
- Make sure you have enough space for bar stools and for people to move comfortably around the bar.
- Consider sun, shade, and wind – you’ll want some protection for both guests and your bar.
- Decide on the size and layout
- A typical backyard tiki bar is around 5 to 7 feet wide and 2 to 3 feet deep.
- Plan for a bar top height of about 42″ to 44″ and a lower work surface behind the bar if you like.
- Sketch a simple top‑down plan with measurements and where the posts will sit.
- Check any local rules
- In most places, a small, freestanding bar doesn’t need a permit, but it’s worth checking local rules if you’re adding electrical or plumbing.
- Set your budget and timeline
- This project usually takes a weekend for two people: one day for framing, one day for cladding, roofing, and finishing.
- Costs vary depending on lumber prices and roof style, but many DIYers complete it for a few hundred dollars.
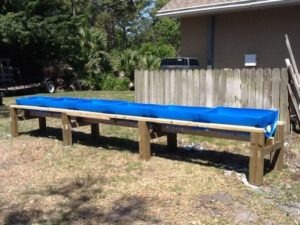
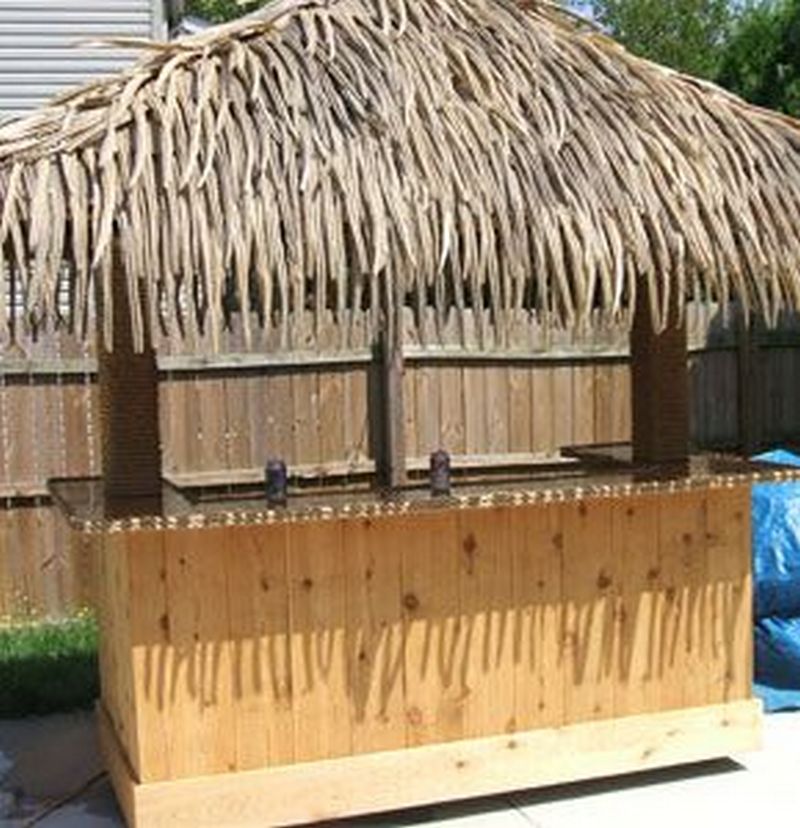
Step 2: Build the Tiki Bar Frame and Bar Top
Now it’s time to turn your plan into a solid structure.
- Build the base frame
- Cut your 2x4s to the planned width and depth of your bar.
- Assemble a rectangular base frame with exterior screws, using a square to keep corners at 90 degrees.
- Add one or two cross braces inside the frame for extra strength.
- Install the vertical posts
- Cut your 4×4 posts for the bar corners.
- For a simple bar without a tall roof, you can cut posts to bar height (about 42″).
- If you’re adding a thatched roof, cut front posts taller (e.g., 7 feet) and back posts slightly shorter (e.g., 6.5 feet) to create roof pitch.
- Secure the 4×4 posts at each corner of the base frame with exterior screws and brackets.
- Use a level to ensure each post is plumb.
- Cut your 4×4 posts for the bar corners.
- Create the bar structure
- Add 2×4 rails between the posts at bar‑top height (around 42″) around the front and sides.
- Add lower rails (around 12″–18″ above the base frame) if you want more support and a place to attach plywood.
- Check the entire frame for square and sturdiness before moving on.
- Install the bar top and front panels
- Cut ¾” pressure‑treated plywood for the bar front and sides to fit your frame.
- Secure the plywood to the frame with screws or a framing nailer.
- Cut a larger plywood piece for the bar top, allowing a small overhang on the front and sides (usually 2″–4″).
- Test the bar height and overhang with a stool to make sure it feels comfortable.
Step 3: Add the Tiki Details – Bamboo, Thatch, and Décor
This is where your backyard bar transforms into a true tiki escape.
- Wrap the bar in bamboo
- Measure the front and sides and cut your bamboo sheets or bamboo fencing to size.
- Attach the bamboo to the plywood using exterior screws, nails, or a construction adhesive, depending on the product.
- Use 1×2 poplar boards as trim along the top, bottom, and corners to cover cut edges and create a clean, finished look.
- Build and attach the roof (optional but highly recommended)
- Build a simple roof frame using 2x4s, matching the width and depth of your bar plus any desired overhang.
- Install rafters from the front posts to the back posts, following the slope created by your post heights.
- Secure the roof frame firmly to the top of the 4×4 posts. This is where having a helper makes things much easier and safer.
- Attach your thatch or weatherproof thatch panels according to the manufacturer’s instructions, overlapping layers so water sheds away from the bar.
- Seal and protect the wood
- Lightly sand exposed wood surfaces, especially the bar top, edges, and any areas people will touch often.
- Apply an exterior wood stain or clear polyurethane to protect against sun and moisture.
- Follow the product directions for drying time and additional coats.
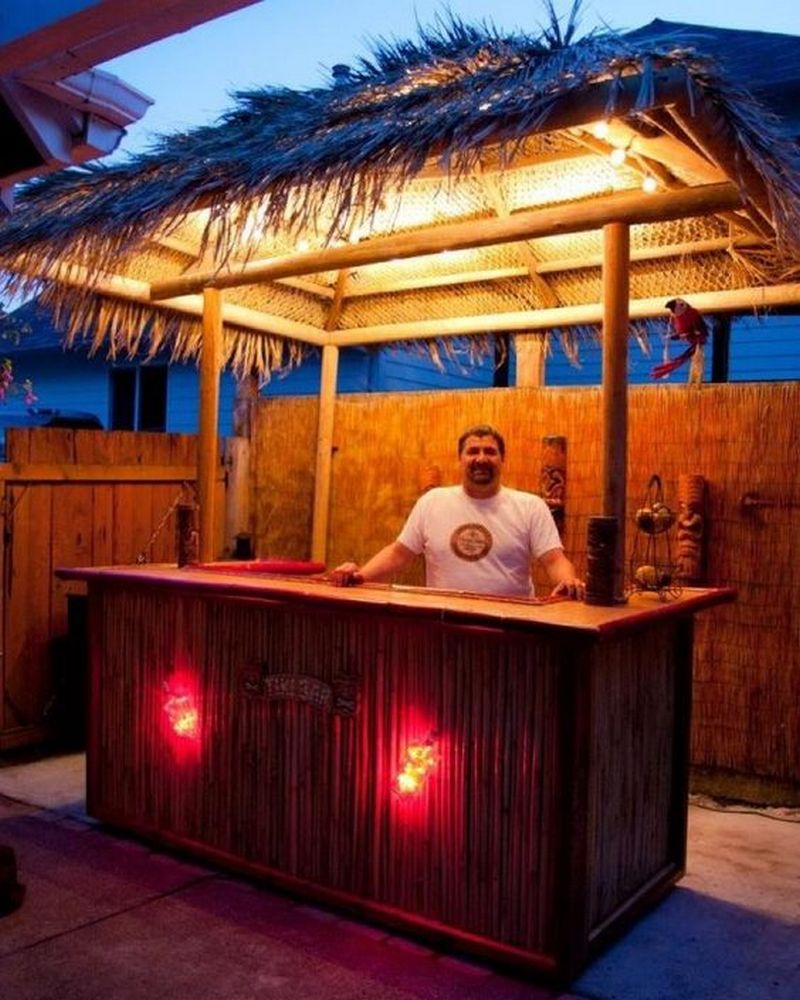
- Add lighting and personality
- Install a few hooks under the roof to hang string lights or lanterns.
- Add tiki torches around the bar area (keeping proper safety distance from thatch and wood).
- Decorate with tropical plants, surfboards, seashells, or island‑themed signs for a fun, personalized look.
Step 4: Style, Stock, and Enjoy Your Tiki Bar
The hard work is done—now it’s all about finishing touches and fun.
- Set up seating and storage
- Choose bar stools that are the right height for your bar top.
- Add shelves behind the bar for bottles, glassware, and bar tools.
- Consider hooks under the bar top for hanging mugs or tools.
- Stock your tropical bar
- Keep the essentials on hand: rum, fresh citrus, simple syrup, coconut cream, pineapple juice, and plenty of ice.
- Add garnishes like limes, oranges, mint, and cocktail umbrellas for that true island feel.
- Store a basic shaker, jigger, muddler, and strainer in a weather‑resistant bin or cabinet.
- Create your signature drink
- Learn a classic tiki cocktail like a mai tai or piña colada.
- Experiment with your own “house special” and give it a fun name inspired by your family, street, or backyard.
- Maintain your tiki oasis
- Sweep or hose down the bar area regularly.
- Check the thatch and bamboo every season and repair or replace any worn sections.
- Reapply stain or sealant every year or two, depending on your climate, to keep the wood looking fresh.
Advantages of Building Your Own DIY Backyard Tiki Bar
Building your own tiki bar is more than just another outdoor project. It changes how you use your space.
Escape to your own private paradise
Instead of dreaming about a tropical getaway, you can step into one just outside your back door. After a long day, a quick walk to the tiki bar with a cold drink in hand beats a long drive to a crowded bar every time.
The ultimate entertaining hub
A backyard tiki bar instantly becomes the center of the party. From casual BBQs and pool days to themed luau nights, your bar gives guests a natural place to gather, chat, and relax.
Budget‑friendly and fully customizable
Store‑bought bars can be expensive and rarely fit your space perfectly. A DIY tiki bar lets you:
- Choose the exact size and shape
- Pick your materials and finishes
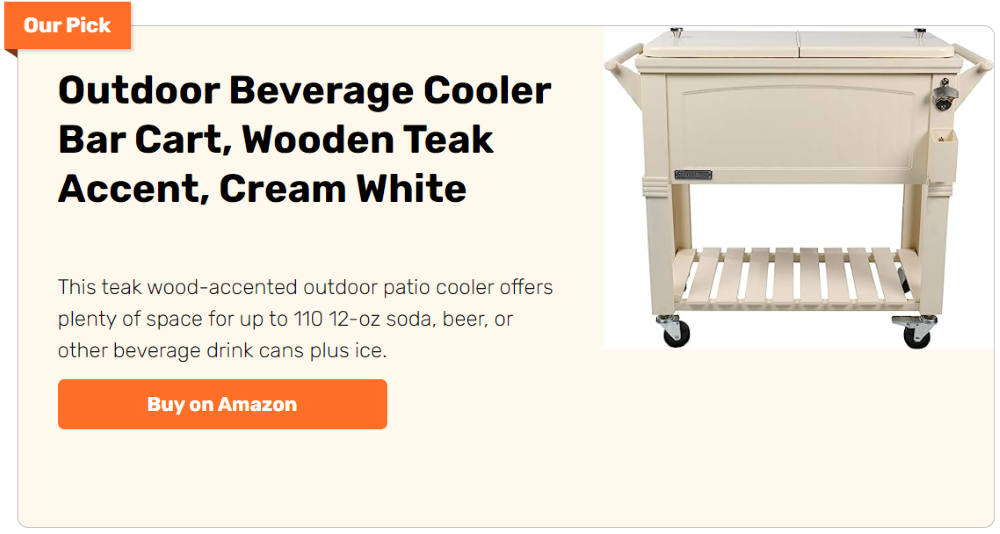
- Add custom features like hooks, shelves, or a built‑in cooler
You control the cost and the style.
Boost your outdoor living space
Instead of a plain patio or unused corner, you’ll have a focal point that invites you outside more often. Morning coffee, afternoon mocktails, evening cocktails — your tiki bar gives you a reason to enjoy your backyard in every season.
5 Backyard Tiki Bar Styles to Inspire Your Design
Once you understand the basics, you can tweak the design to match your space and taste. Here are five ideas to get you started:
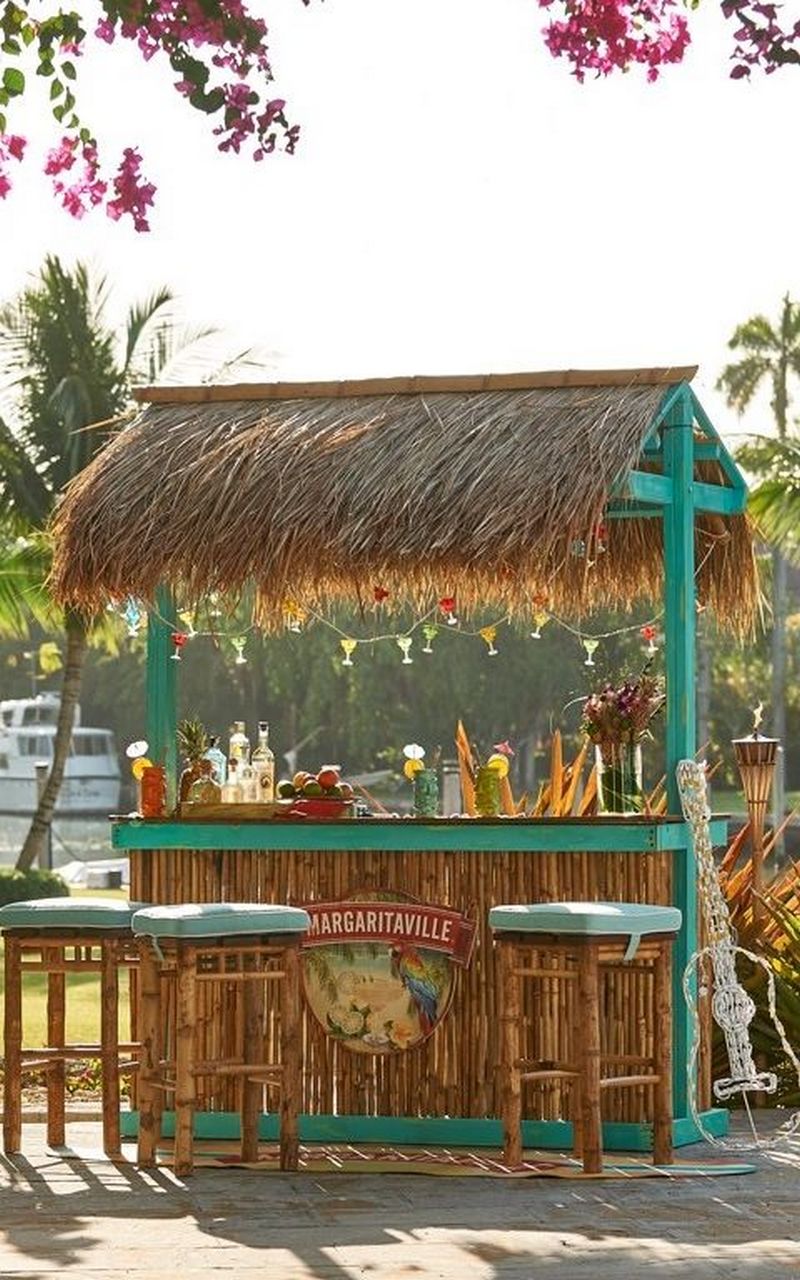
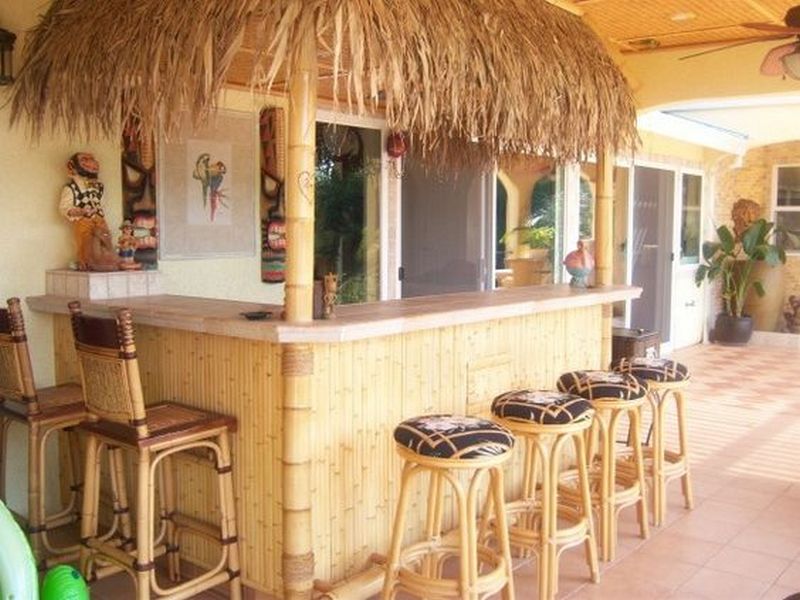
- The Classic Cabana
- Thatched roof, bamboo front, simple rectangular bar.
- Perfect for medium‑sized patios and classic island style.
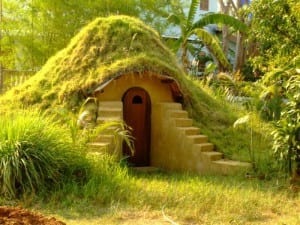
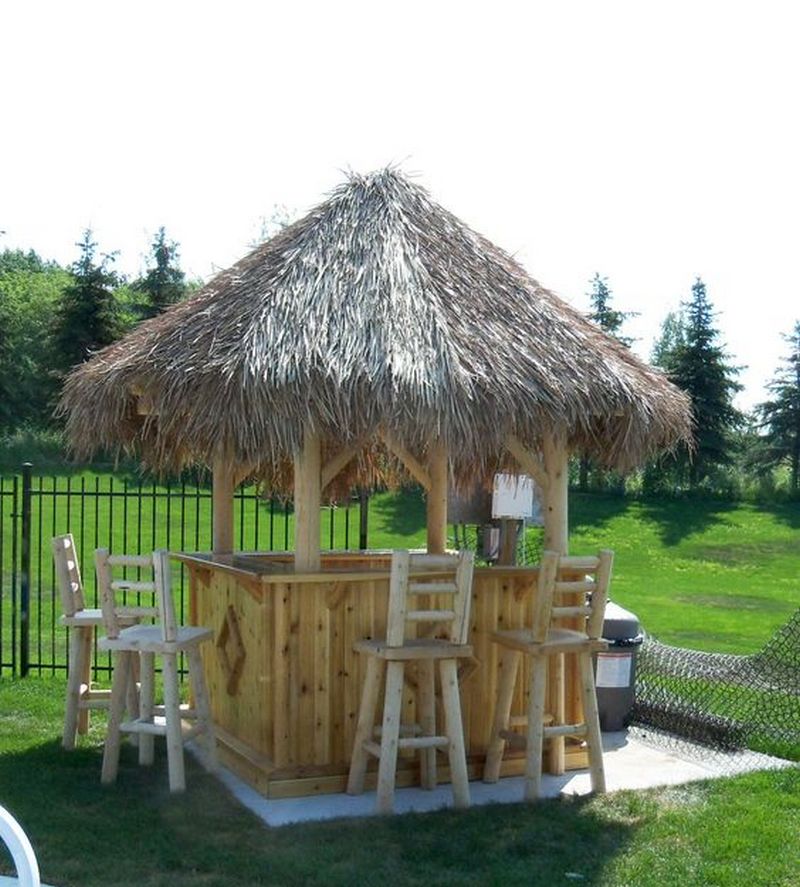
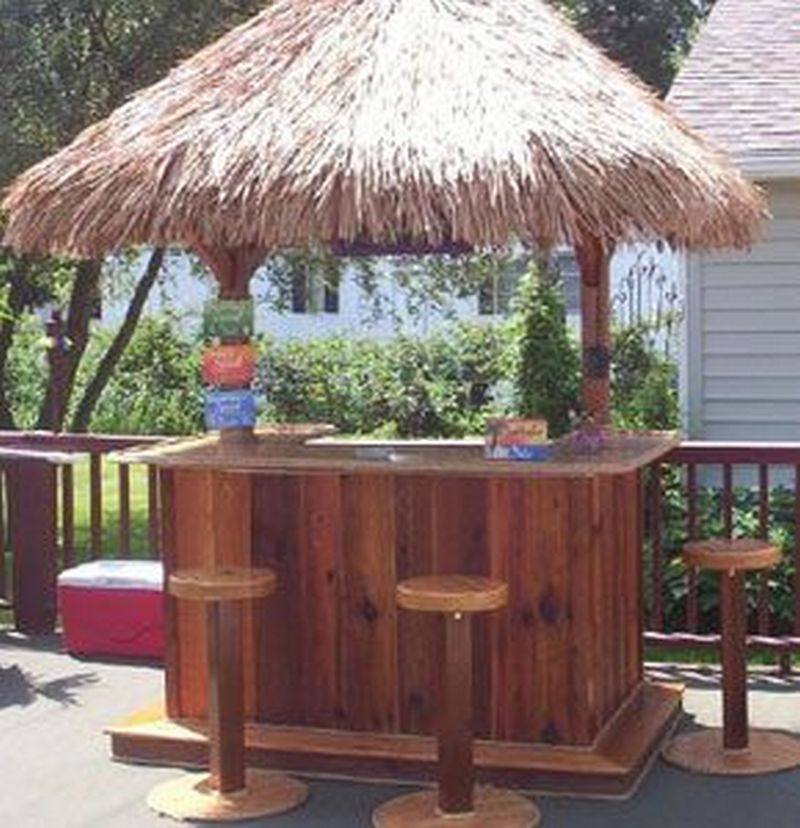
- The Tropical Tiki Hut
- Peaked roof, more enclosed sides, rustic details.
- Ideal if you want a cozy, sheltered bar area with a strong “island hut” feel.
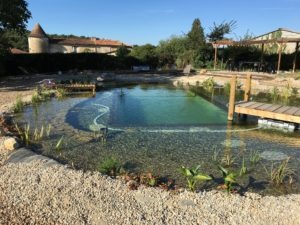
- The Poolside Paradise
- Built alongside your pool with waterproof finishes and easy‑clean surfaces.
- Add a bar ledge along the pool edge or in‑water stools if your pool allows it.
- The Beachfront Bliss (Even Without a Beach)
- Sandy or gravel “beach” underfoot, driftwood accents, plenty of seashells and coastal decor.
- Great for those who love a coastal aesthetic even in a landlocked backyard.
- The Urban Oasis
- More compact footprint for small yards, rooftops, or courtyards.
- Emphasize vertical greenery, soft lighting, and comfortable seating to create a calm retreat from the city.
Builder’s Tips From the Backyard
A few lessons that make the project smoother:
- Measure twice, cut once
- Accurate cuts make the frame go together quickly and keep everything square.
- Get help for the roof
- Lifting and attaching the roof frame is much safer and easier with at least one helper.
- Think about weather from day one
- Slight roof overhangs and good sealant protect your bar and dramatically extend its life.
- Plan for future upgrades
- Leave space for things like a small fridge, sink, or extra shelving if you think you might add them later.
Thanks to diynetwork for sharing strategies on how to build a DIY backyard tiki bar.
Frequently Asked Questions
- How long does it take to build a backyard tiki bar?
- Most DIYers can build a simple backyard tiki bar over a weekend. Plan for one full day of framing, sheathing, and basic structure, and another day for bamboo cladding, roofing, and finishing. Complex designs or detailed decor may take an extra day or two.
- How do I attach the back posts to a tiki bar structure?
- Set your 4×4 posts at each back corner of the base frame, making sure they are plumb with a level. Attach them with exterior‑grade screws and metal brackets from the inside of the frame. If the bar will sit on concrete, use post bases or anchors to secure the posts to the slab for added stability.
- Do I need a permit to build a backyard tiki bar?
- For a small, freestanding bar without plumbing or built‑in electrical, many areas don’t require a permit. However, rules vary, especially if you’re adding wiring, a sink, or attaching the structure to your house. It’s always best to check with your local building department.
- What’s the best wood for a backyard tiki bar?
- Pressure‑treated lumber is a popular choice for the structure because it resists rot and insects. You can use pine for trim and decorative elements, then protect it with a good exterior stain or polyurethane. Cedar and redwood are also excellent outdoor options if they fit your budget.
- How do I weatherproof my tiki bar?
- Weatherproof your tiki bar by sealing all exposed wood with an exterior‑grade stain or spar urethane, using corrosion‑resistant screws and brackets, and making sure your roof has enough overhang to shed water away from the bar. Check your bar each season for any signs of wear and reapply sealant as needed.
- Can a thatched tiki bar roof handle wind and rain?
- A thatched roof can handle normal weather if properly installed. Make sure the roof frame is firmly attached to the posts, overlap the thatch layers so water runs off, and secure the thatch according to the manufacturer’s instructions. In very windy areas, consider a synthetic thatch designed for outdoor durability.
- How should I sand my tiki bar for a smooth finish?
- Use medium‑grit sandpaper to smooth rough spots on the bar top, edges, and any areas people will lean on or touch. Follow with a finer grit for the bar top to get a smoother surface before staining or sealing. Wipe away dust before applying any finish.
- What are some other backyard projects that pair well with a tiki bar?
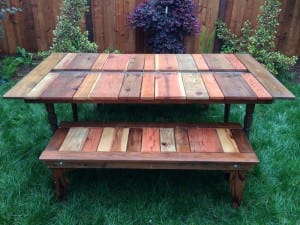
- A tiki bar pairs beautifully with a DIY fire pit, cozy outdoor seating, string lights, a simple deck or patio extension, or a DIY picnic table. These projects work together to create a complete, inviting outdoor living space.
The Wrap Up
Your backyard tiki bar can turn an ordinary outdoor space into a year‑round escape — built in a weekend, enjoyed for years.
Ready to make it happen? So what are you waiting for? Get started today and enjoy your backyard tiki bar in no time!