Last Updated on December 10, 2025 by teamobn
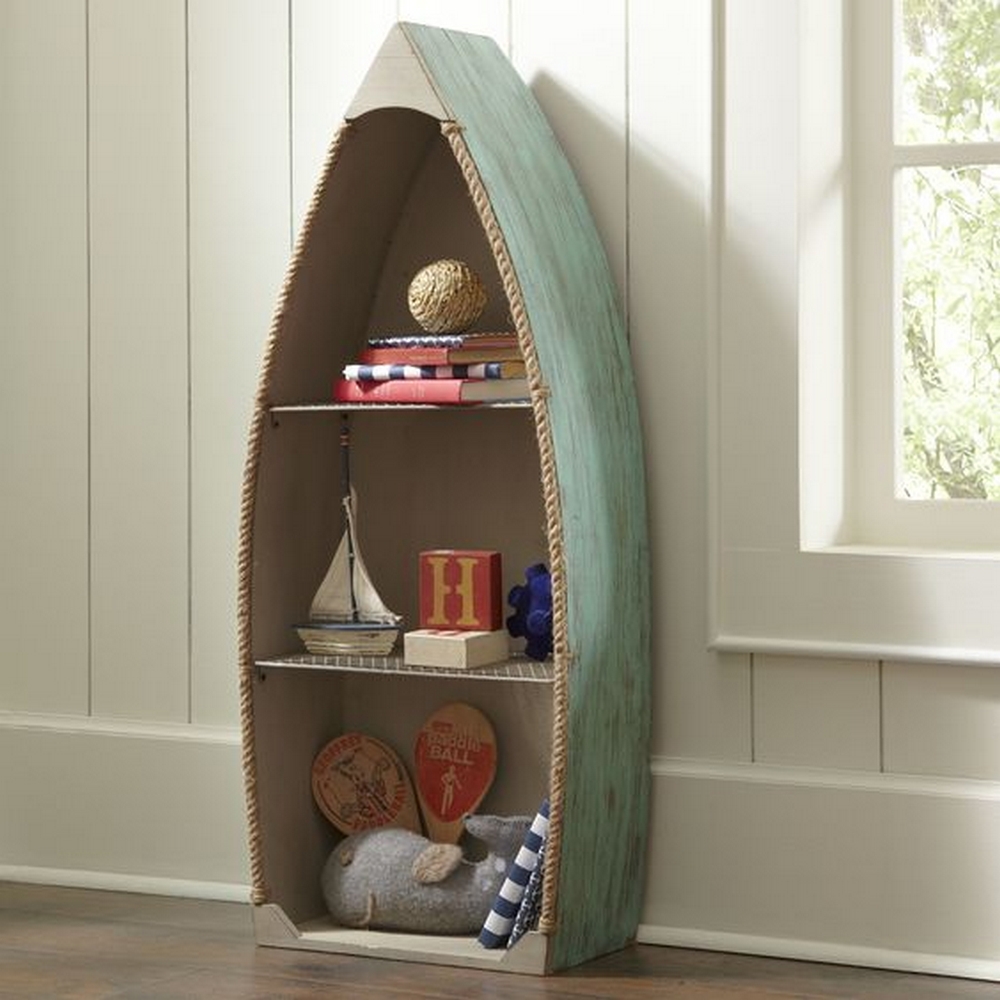
If you want a bookshelf that is more interesting than a plain rectangle, a boat bookshelf is a great choice. A boat bookshelf looks like the front of a wooden boat standing upright. It works well in a child’s room, a beach-themed living room, or any space where you want a unique piece of furniture.
In this guide, you will learn how to build a boat bookshelf step by step. You will see the tools and materials you need, how to plan the size, how to cut and assemble the sides and shelves, and how to finish and mount it safely. A beginner or intermediate DIYer who can use basic power tools can complete this project in a weekend.
A boat bookshelf is both storage and decoration. It can bring a touch of the beach into your home, even if you live far from the coast.
Contents
- 1 Guide to DIY Boat Bookshelf
- 1.1 What Materials Are Needed to Build This DIY Boat Bookshelf
- 1.2 What Tools Are Needed for This Weekend Build?
- 1.3 Step by Step: How to Build a Boat Bookshelf
- 1.3.1 Step 1: Plan the Size and Shape
- 1.3.2 Step 2: Make a Full-Size Paper Template
- 1.3.3 Step 3: Cut the Side Panels
- 1.3.4 Step 4: Cut the Back Panel
- 1.3.5 Step 5: Decide Shelf Positions and Cut the Shelves
- 1.3.6 Step 6: Dry Fit the Frame
- 1.3.7 Step 7: Assemble the Back and Sides
- 1.3.8 Step 8: Install the Shelves
- 1.3.9 Step 9: Add Front Trim and Decorative Details
- 1.3.10 Step 10: Sand the Entire Bookshelf
- 1.3.11 Step 11: Stain or Paint and Finish
- 1.3.12 Step 12: Secure the Boat Bookshelf to the Wall
- 2 Design Ideas for Boat Bookshelves
- 3 Safety Tips for a Boat Bookshelf
- 4 Customization Tips for Your Boat Bookshelf
- 5 FAQ on DIY Boat Bookshelf
- 6 Conclusion
Project at a Glance
Project: DIY boat-shaped bookshelf for books, toys, and decor
Skill level: Beginner to intermediate DIYer who can safely use basic power tools
Estimated time: About one weekend
- Day 1: planning, cutting, assembly
- Day 2: sanding, painting or staining, clear coat, drying
Estimated size
- Height: 150 to 180 cm (about 5 to 6 feet)
- Width at base: 60 to 75 cm (about 24 to 30 inches)
- Depth: 25 to 35 cm (about 10 to 14 inches)
Best for
- Kids rooms and playrooms
- Beach or coastal themed living rooms
- Reading corners that need both storage and a feature piece
Key safety steps
- Round all corners and edges during sanding
- Use low VOC or non-toxic paints and finishes when possible
- Anchor the bookshelf securely to wall studs with brackets or straps
- Place heavier items on lower shelves to keep the bookshelf stable
Guide to DIY Boat Bookshelf
You can build this boat bookshelf from new plywood. If you prefer a rustic look you can adapt it to use reclaimed pallet wood. The list below is for the plywood version.
What Materials Are Needed to Build This DIY Boat Bookshelf
Wood and fasteners
- 1/2 sheet of 3/8 inch beaded oak plywood for the back panel
- 1/2 sheet of 1/4 inch oak plywood finished on both sides for the shelves
- 1/2 sheet of 1/2 inch birch plywood for the side panels
- 10 feet of 3/4 inch oak for front trim
- Wood glue
- 1 1/4 inch finish nails or brad nails
- Wood screws for wall mounting
- Sandpaper in 80, 120, and 220 grit
- Wood stain or paint of your choice
- Clear topcoat such as polyurethane or a water based clear finish
Optional Pallet Version
If you have spare pallets, you can use pallet boards as an alternative to some or all of the plywood. Ensure the pallets are dry, free from rot, and not chemically treated. Remove nails or cut around them, sand the boards smooth, and check the thickness so your sides, back, and shelves stay even. You can follow the same steps below and simply match your cuts to the size of your pallet boards.
What Tools Are Needed for This Weekend Build?
- Safety glasses, hearing protection, and a dust mask
- Reciprocating saw with carbide blade for cutting pallets
- Jigsaw for curved cuts
- Circular saw, or table saw, for straight cuts
- Sander and sanding blocks
- Belt sander for faster shaping, if you have one
- Miter saw for cutting trim
- Drill and drill bits
- Clamps
- Staple gun or brad nailer
- Finish nailer or hammer with finish nails
- Measuring tape, square, and pencil
Step by Step: How to Build a Boat Bookshelf
These steps describe how to build a medium-sized boat bookshelf about 5 to 6 feet tall and about 2 to 3 feet wide at the base. You can adjust the size to suit your room.
Step 1: Plan the Size and Shape
Decide where the bookshelf will go and measure the space. Choose a height that looks balanced in the room. A height between 150 and 180 centimeters (about 5 to 6 feet) works well for most homes.
Decide how wide the base should be. A base width of about 60 to 75 centimeters (about 24 to 30 inches) usually gives good stability and enough room for books.
Make a simple sketch of the bookshelf. Draw it as a tall triangle or boat front with a rounded top and a flat bottom. Mark where you want shelves and how many you need.
Step 2: Make a Full-Size Paper Template
To get smooth, even curves it helps to create a template.
- Tape pieces of construction paper together until the sheet is as tall as your planned bookshelf.
- Draw a straight center line from top to bottom.
- On one side of the line sketch the outline of half of the boat shape from the base to the top. Think of the shape of the bow of a wooden boat.
- Cut out along your line.
- Fold the paper along the center line and trace your half shape onto the other side so both sides match.
You now have a full size template for one side of the boat.
Step 3: Cut the Side Panels
- Lay the template on the 1/2 inch birch plywood.
- Trace the outline for the first side.
- Cut along the line with a jigsaw. Move slowly to keep the cut smooth.
- Sand the cut edge to remove splinters.
- Place the cut side on the plywood, trace around it, and cut the second side.
- Sand the second side to match the first.
You now have two side pieces that form the outside shape of your boat bookshelf.
Step 4: Cut the Back Panel
- Lay the two side pieces on the 3/8 inch beaded oak plywood so that the backs are facing down on the panel.
- Adjust them until you like the width and shape and then trace around the outer edge.
- Remove the sides and cut along the line with a jigsaw or circular saw.
- Sand the edges of the back panel.
The back panel should match the curve and height of the side pieces.
Step 5: Decide Shelf Positions and Cut the Shelves
Plan how many shelves you want and what will sit on them.
- For books and toys, spacing of 25 to 30 centimeters (10 to 12 inches) between shelves works well.
- The bottom shelf can sit a little higher to leave room for a small plinth or base.
- On one side panel, mark the positions of each shelf with a pencil and a square so they are level.
- Measure the distance between the inside faces of the two side panels at each shelf height. The width will get smaller as you go higher toward the bow of the boat.
- Transfer each measurement to the 1/4 inch oak plywood and cut shelves to size with a circular saw.
- Lightly round or ease the front edges of the shelves with sandpaper so they are comfortable to touch.
- Sand all surfaces of the shelves smooth.
Step 6: Dry Fit the Frame
Before you glue or nail anything, assemble the main pieces without fasteners to check the fit.
- Stand the back panel upright or lay it flat on a workbench.
- Place the side panels along the edges of the back panel.
- Insert shelves between the sides in your planned positions.
- Check that everything fits and that the curves and heights look right.
Adjust shelf widths or positions if needed before final assembly.
Step 7: Assemble the Back and Sides
- Lay the back panel flat with the inside facing up.
- Run a thin bead of wood glue along one side edge of the back panel.
- Stand one side panel on edge along the glued line and clamp it in place.
- Secure the side panel to the back panel with finish nails or brad nails spaced about every 10 to 15 centimeters (4 to 6 inches).
- Repeat the process for the other side panel.
- Wipe away any glue squeeze out with a damp cloth.
Allow the glue to set according to the instructions on the bottle before you move to the next step.
Step 8: Install the Shelves
Shelves should be level and well supported.
- On the inside of each side panel, remark the shelf lines if needed so you can see them clearly.
- Apply glue along the edges of the shelf that will touch the sides and the back.
- Position the shelf between the sides at the marked height.
- Clamp it in place or hold it firmly.
- From the outside of the side panel, nail or screw into the shelf edge. Use a square to check that the shelf is level.
- Repeat for each shelf, working from the bottom up.
Let all glue dry fully before you sand or move the bookshelf.
Step 9: Add Front Trim and Decorative Details
Trim makes the front edge of the boat bookshelf look finished and protects the plywood edges.
- Measure the front edges of the side panels where you want trim.
- Cut 3/4 inch oak strips to length using a miter saw.
- Shape or round the edges of the trim slightly for a smoother feel.
- Glue and nail the trim to the front edges of the sides and along the top curve.
- You can also add a small cap at the top to look like the tip of a boat bow.
If you like, you can add simple decorative pieces such as a small wooden wheel at the top or rope handles at the sides for a nautical look.
Step 10: Sand the Entire Bookshelf
A smooth surface is important both for appearance and for safety.
- Start with 80 grit sandpaper to remove any rough spots, glue marks, or sharp edges.
- Move to 120 grit to even out the surface.
- Finish with 220 grit for a smooth feel.
- Pay special attention to corners and edges and soften them slightly so they are not sharp.
- Wipe off all dust with a clean cloth or tack cloth.
Step 11: Stain or Paint and Finish
Choose a finish that matches your room and is safe for indoor use.
- For a classic nautical look you can stain the wood a medium or dark brown and leave the beadboard back lighter.
- For a coastal style use white or light blue paint.
- For a child’s room consider bright colors and simple patterns such as stripes.
- Apply your chosen stain or paint according to the product instructions. Work in a well ventilated area.
- Allow it to dry fully.
- Apply a clear protective topcoat for durability, especially if the bookshelf will be used in a child’s room.
- Let the finish cure completely before placing items on the shelves.
Choose paints and finishes that are labeled low VOC or non toxic when possible.
Step 12: Secure the Boat Bookshelf to the Wall
Tall furniture can tip if a child climbs on it or if it is bumped. Anchoring the bookshelf is very important.
- Move the bookshelf to its final position.
- Use a stud finder to locate wall studs behind it.
- Mark two points on the back panel that line up with studs.
- Attach metal brackets or safety straps to the back of the bookshelf at these points.
- Use suitable screws to fix the other ends of the brackets to the wall studs.
- Check that the bookshelf cannot rock or tip forward.
Once it is secure you can load books, toys, and decorations.
Click on any image to start the lightbox display. Use your Esc key to close the lightbox.
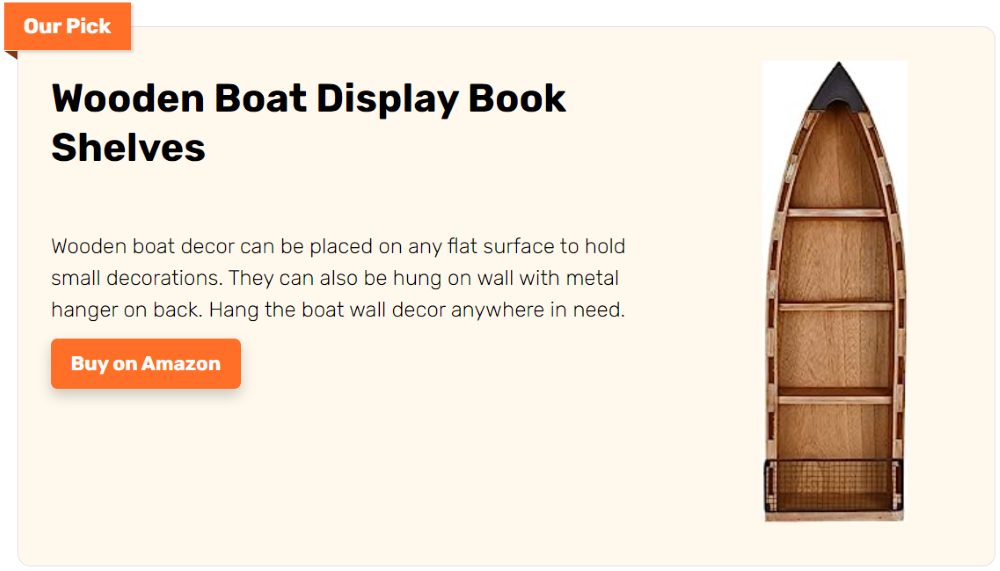
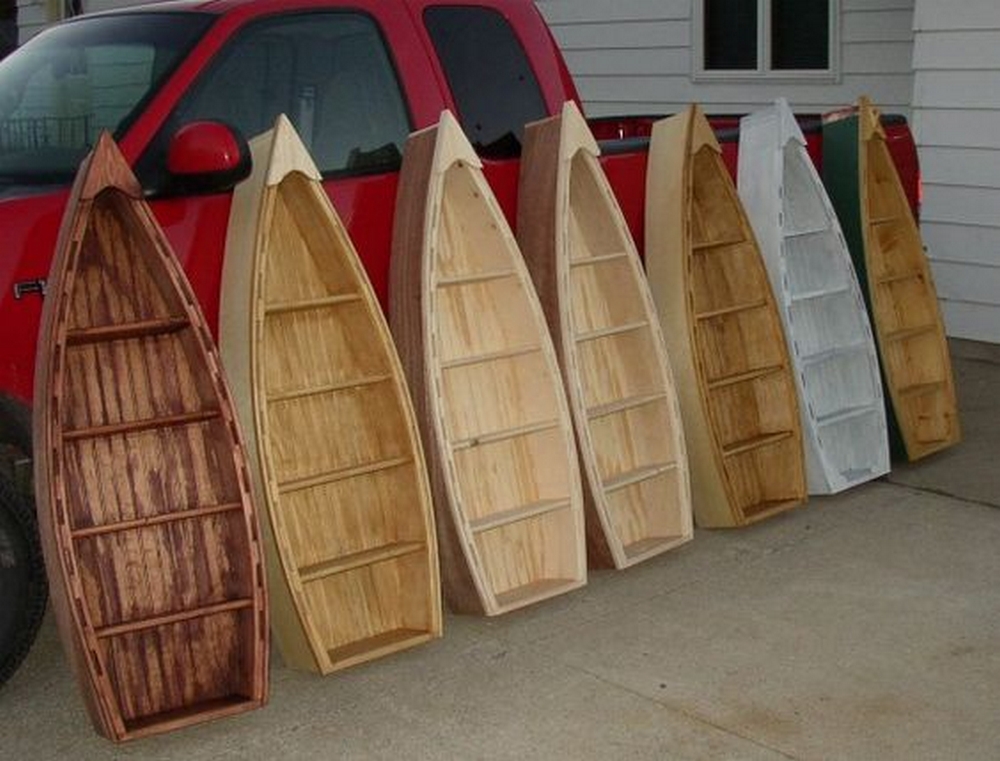
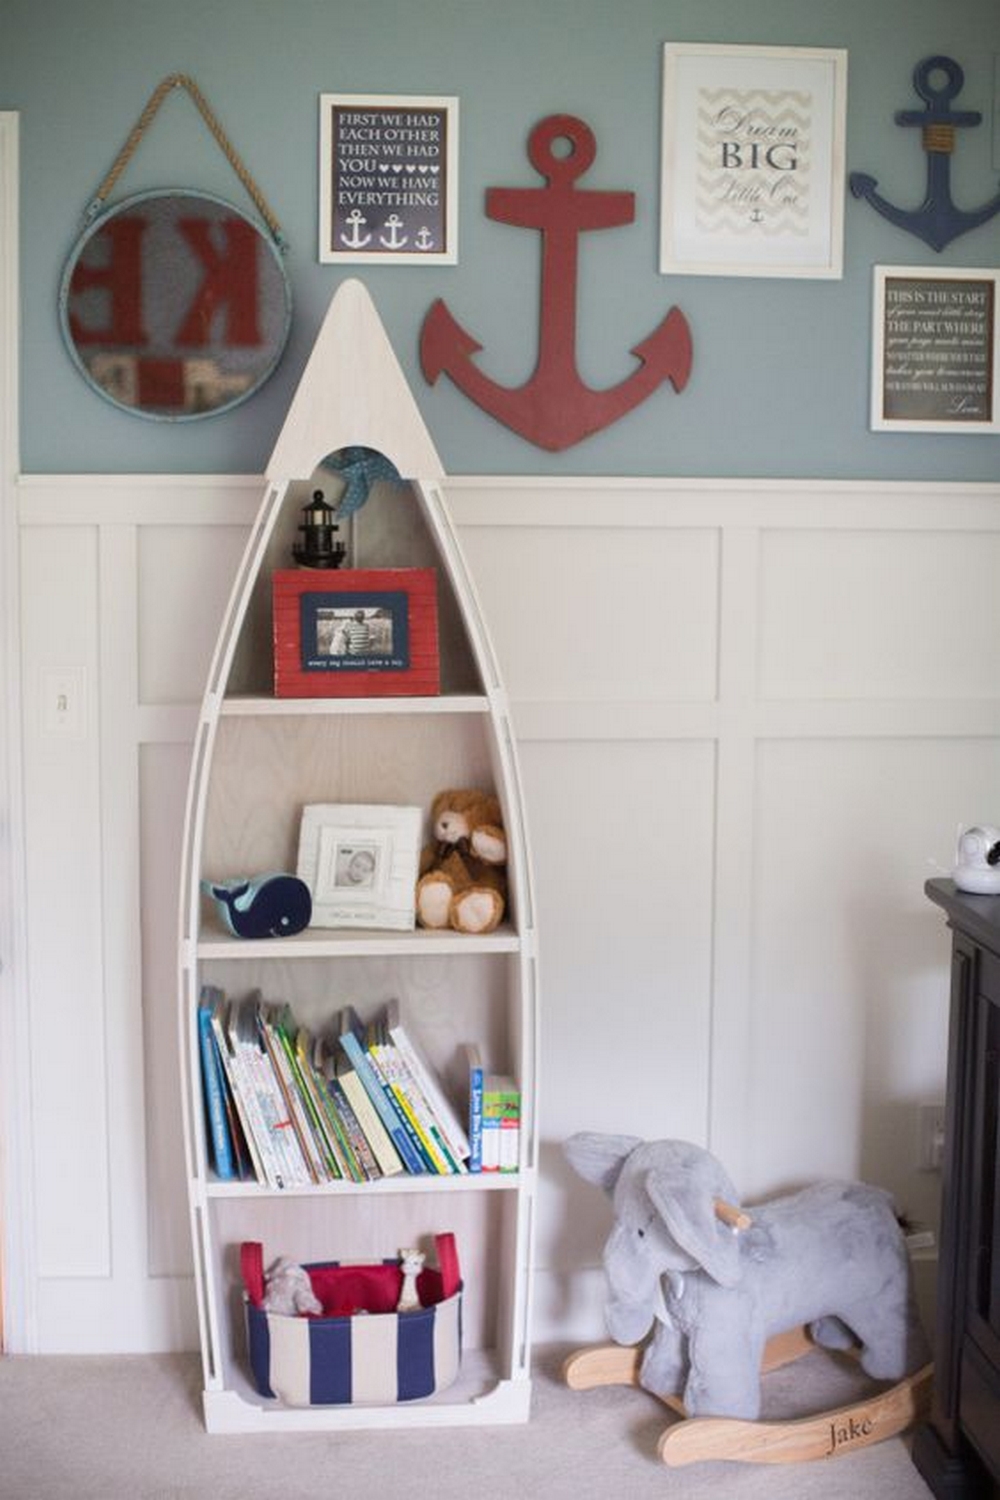
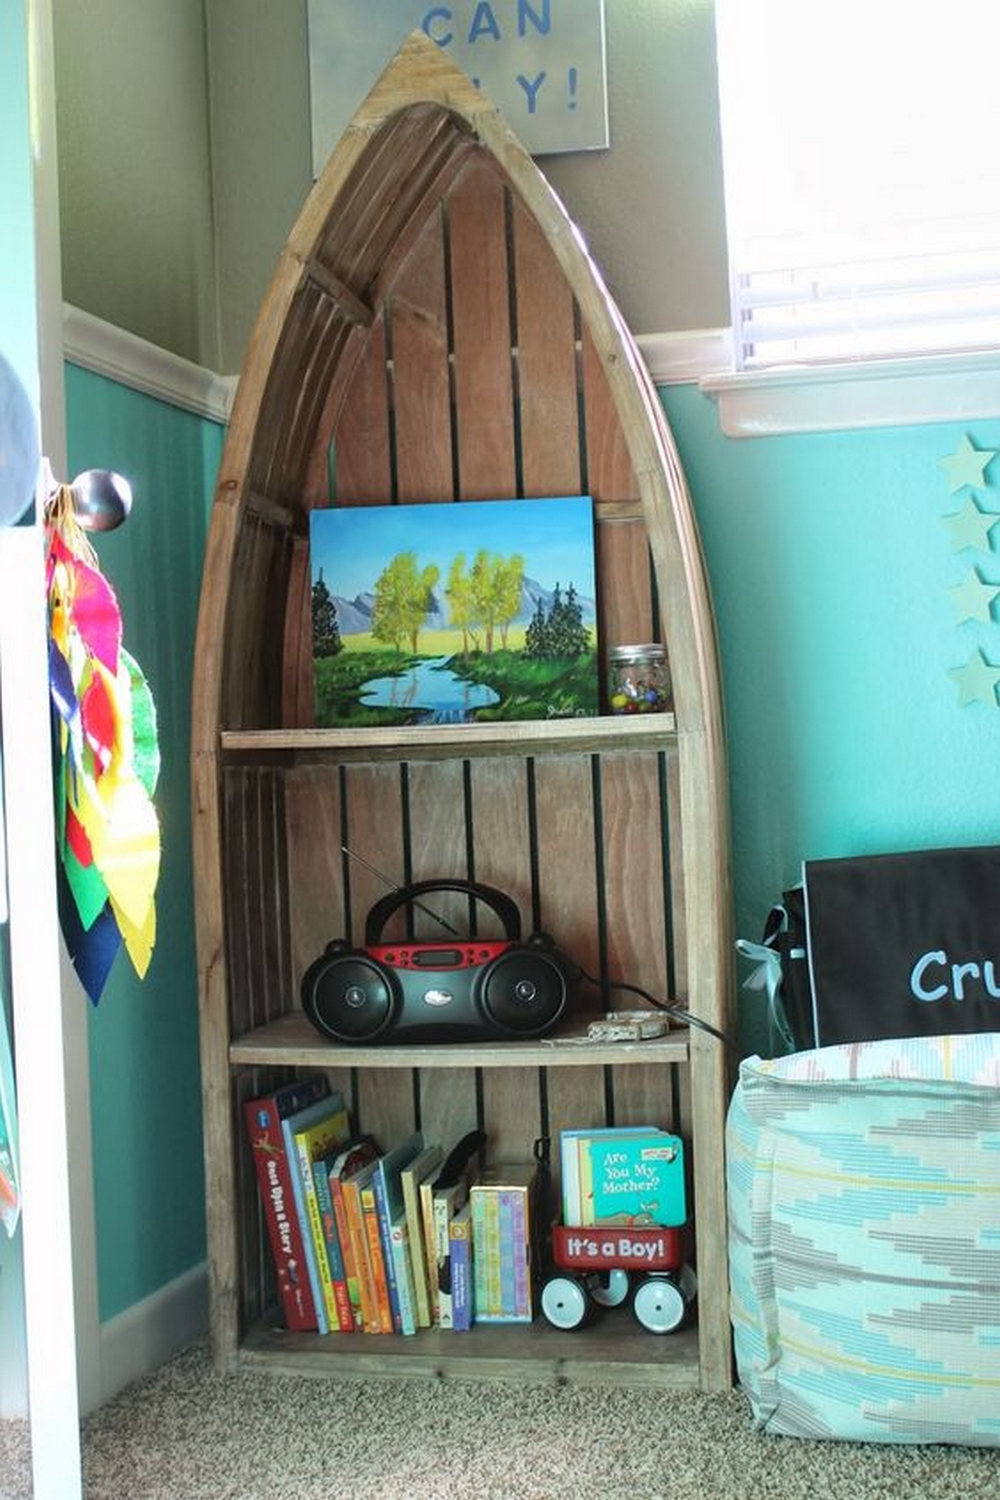
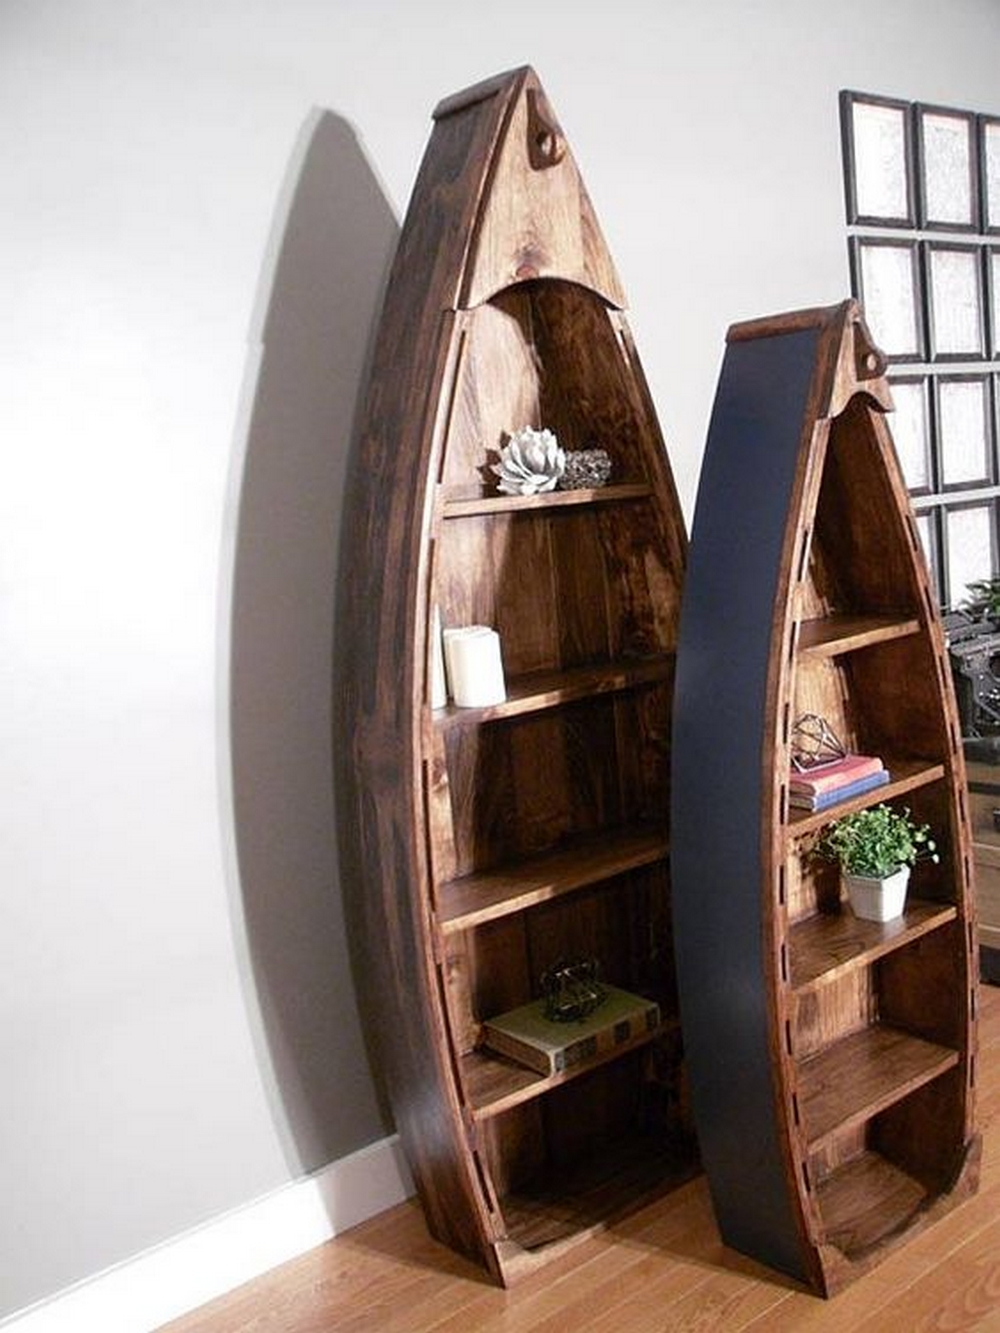
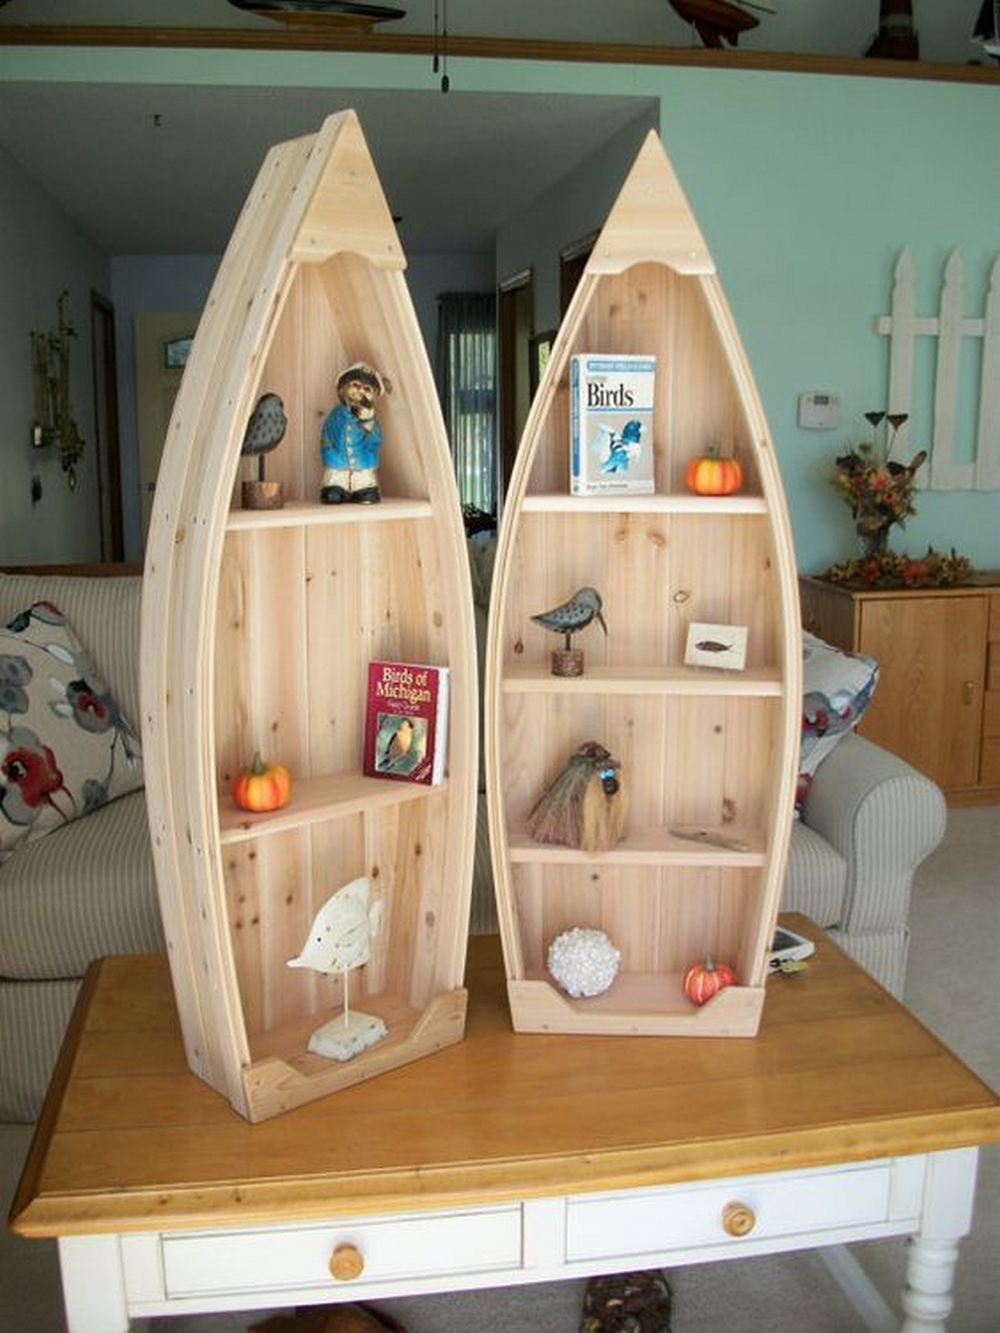
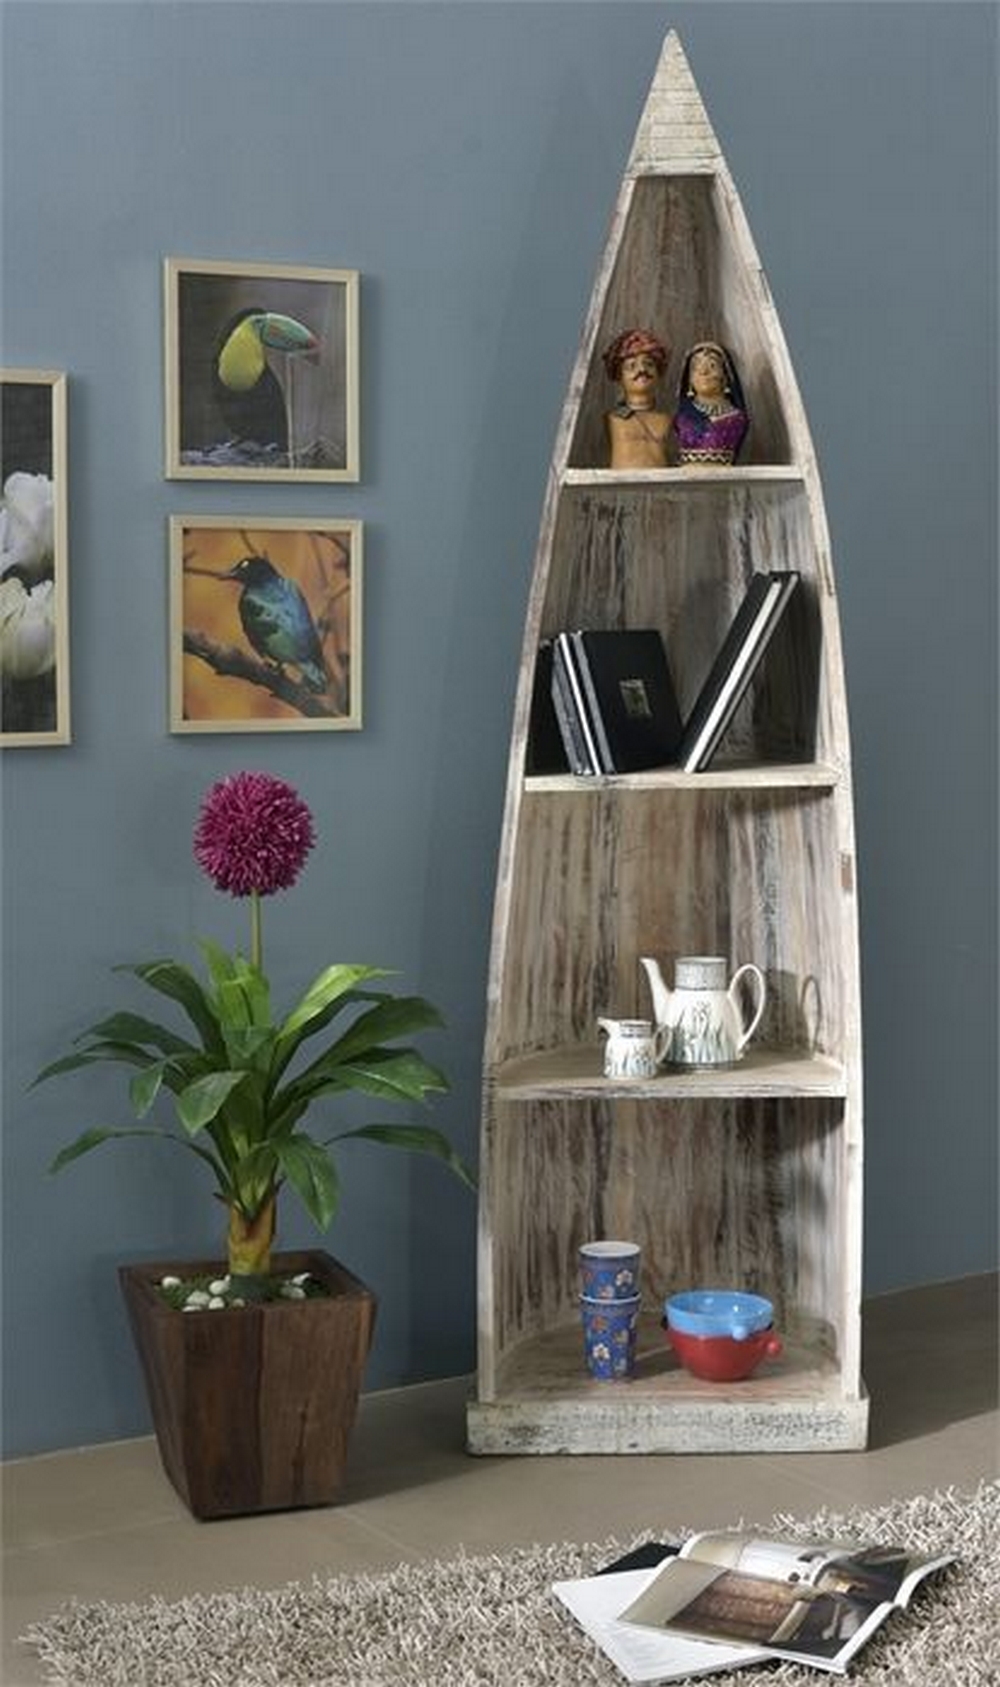
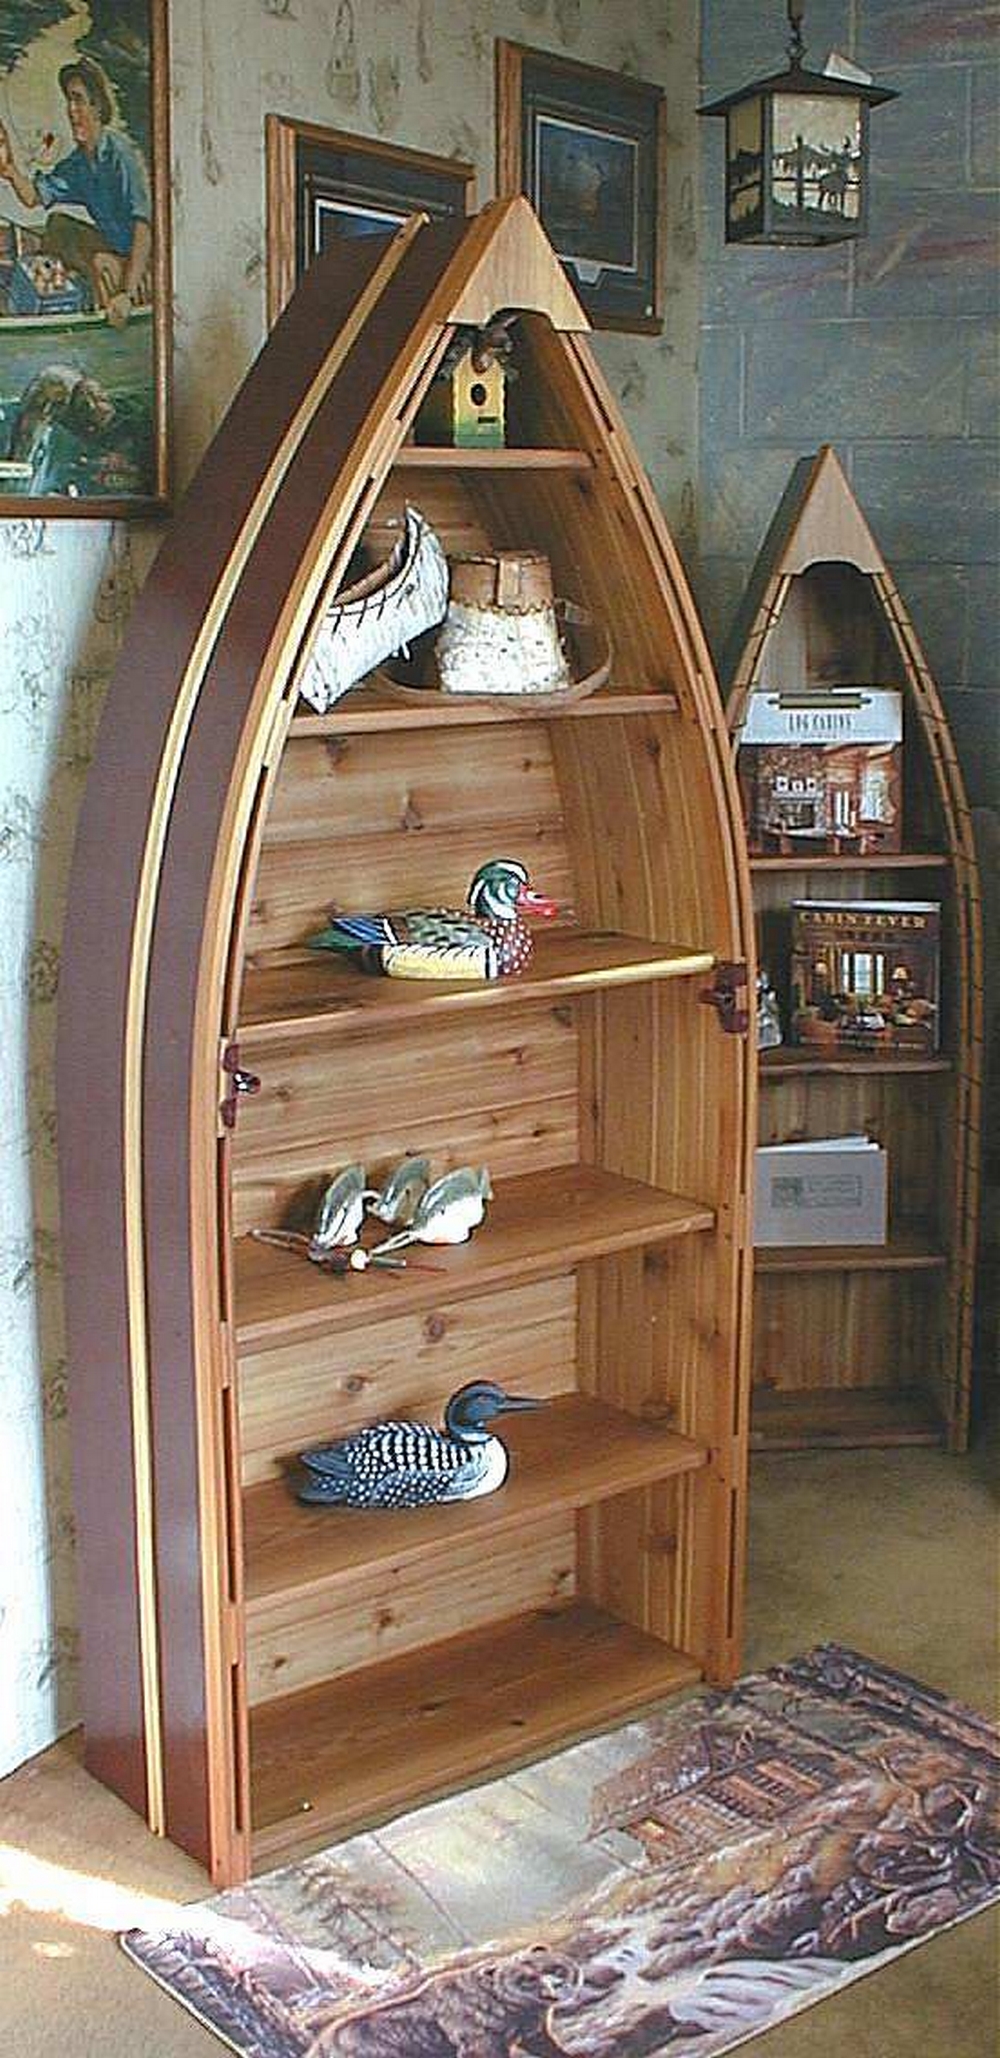
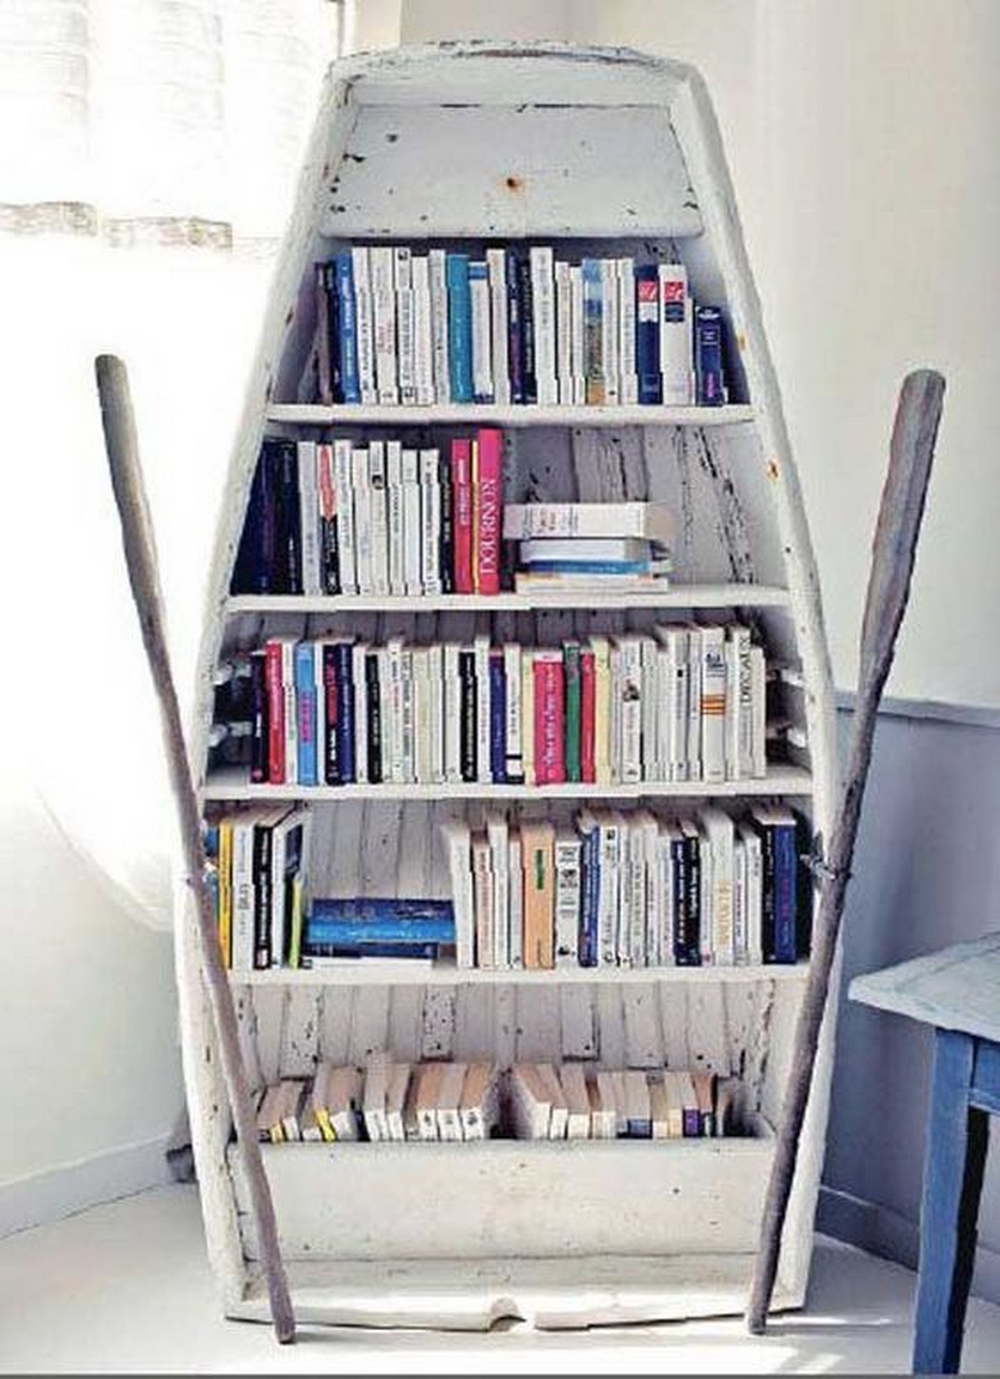
Take a look at the gallery below and see some great examples of boat bookshelves.
Thanks to Jonathan Ellis for this great project. You can get step-by-step instructions here…
Design Ideas for Boat Bookshelves
The design you choose for your boat bookshelf can change the whole feel of the room. A boat shelf often becomes the first thing people notice when they walk in. Here are some popular styles.
Classic nautical design
A classic nautical boat bookshelf uses darker woods and simple lines. Think of old wooden boats and ship cabins.
- Use medium to dark stains such as walnut or mahogany.
- Keep the outline clean and smooth.
- Add simple brass or rope details.
This style suits traditional living rooms, studies, or dens and gives a timeless, sailor inspired look.
Modern and minimalist boat bookshelf
In a modern home you may prefer a cleaner and lighter look.
- Use light colored woods or paint in white, gray, or black.
- Keep the shape simple and avoid too many decorative pieces.
- Use straight or slightly curved lines for a more abstract boat shape.
This version looks like a functional art piece and fits well in contemporary apartments and offices.
Whimsical and playful for kids
A boat bookshelf can be a fun feature in a child’s room or playroom.
- Paint the outside in bright colors such as red, blue, or yellow.
- Add simple shapes such as waves, fish, or stars with stencils.
- Attach small flags, a pretend sail, or a painted porthole.
This playful style can encourage children to read more because the bookshelf feels like part of a story.
Rustic and reclaimed wood look
If you like a more natural, worn look you can use reclaimed wood or pallets.
- Leave some of the original marks and color variations.
- Use a light stain or clear finish so the grain shows.
- Add details like rope handles, simple metal brackets, or old boat hardware if you have it.
A rustic boat bookshelf fits well in cottages, cabins, and farmhouse style homes.
Coastal inspired boat bookshelf
A coastal style is light, airy, and relaxed. It feels like a beach house.
- Use white, soft blue, or sand colored paint.
- Add simple striped patterns on the back panel.
- Decorate with small seashells, starfish shapes, or a simple anchor motif.
This style works well in bedrooms, bathrooms, or any room where you want a calm, beach side feeling.
Industrial edge
For a stronger, urban look you can combine wood and metal.
- Use darker stains on the wood.
- Add metal brackets, pipe style supports, or visible screws as design features.
- Keep the color palette simple with black, gray, and brown.
An industrial boat bookshelf looks at home in lofts and modern industrial interiors.
Safety Tips for a Boat Bookshelf
A boat bookshelf is tall and narrow so safety is important, especially in homes with children or pets. Good design and careful installation can prevent accidents.
Stable design and weight balance
- Keep the base wide enough in relation to the height so it does not feel top heavy.
- Place heavier items such as large books on the lower shelves.
- Do not overload the top shelves with heavy objects.
- Test the stability by gently pushing the bookshelf from the front and sides. If it wobbles, improve the base or add more wall anchors.
Secure mounting to the wall
Furniture that can tip should always be attached to the wall.
- Use strong brackets or anti tip straps designed for furniture.
- Fasten them into studs when possible, not just drywall.
- Check the straps or brackets once or twice a year and tighten if needed.
Rounded edges and smooth surfaces
Rounded edges are safer than sharp corners.
- During sanding, soften all corners and edges until they feel smooth to the touch.
- You can also use plastic or rubber corner guards in rooms used by young children.
- Avoid leaving any screws or nails sticking out.
Non toxic materials and finishes
When the bookshelf is used in a child’s room, safer materials are important.
- Choose paints, stains, and clear coats that are labeled low VOC or non toxic.
- Let all finishes dry and cure fully before children use the bookshelf.
- If you use reclaimed wood, avoid boards that were treated with strong chemicals.
By focusing on stable design, safe mounting, smooth edges, and non toxic finishes, you can enjoy a boat bookshelf that is both beautiful and safe.
Customization Tips for Your Boat Bookshelf
Personalizing your boat bookshelf makes it feel like it belongs in your home and fits your style.
Paint and color schemes
- For a calm look choose soft blues, grays, whites, and natural wood tones.
- For a bold look pick bright reds, deep blues, or strong contrasts.
- Use painter’s tape and stencils to add stripes, numbers, or simple shapes.
- Paint the back panel a different color from the sides to make the shelves stand out.
Decorative elements
Small details can make the boat theme clear without overwhelming the room.
- Attach a small wooden ship’s wheel or anchor shape at the top.
- Wrap sections of the trim in rope for a nautical touch.
- Add small hooks on the sides for hanging hats or lightweight items.
- Place themed bookends inside such as lighthouses or sea animals.
Personal touches
Let your bookshelf reflect who will use it.
FAQ on DIY Boat Bookshelf
- What materials are best for building a boat bookshelf
- Sturdy woods such as oak, birch, or pine are good choices for a boat bookshelf. For the main structure, plywood with a smooth, strong surface works well. You can also use reclaimed wood or pallet boards for a rustic look as long as they are clean, dry, and sanded smooth.
- Can I make a boat bookshelf if I am new to woodworking
- Yes. A simple boat bookshelf is a suitable first project if you are comfortable using a saw and drill and if you follow safety rules. Start with a basic design, use a full size paper template, and take your time with measuring, cutting, and sanding.
- How do I ensure my boat bookshelf is stable
- To make your boat bookshelf stable, keep the base wide, place heavy items on lower shelves, and always anchor the bookshelf to the wall. Use strong brackets or straps and fasten them into wall studs whenever possible. Test the bookshelf by gently pushing from the front and sides before loading it with books.
- What are some safe paint options for my boat bookshelf
- Look for paints and finishes that are labeled low VOC or non toxic. Water based paints and clear coats are often a good choice for indoor furniture, especially in children’s rooms. Always follow the drying and curing times on the label and allow the smell to fade before use.
- How can I customize my boat bookshelf
- You can customize your boat bookshelf with color, trim, and decorations. Paint it in nautical colors such as blue and white, add rope or small anchor shapes, or use themed bookends and nameplates. For a child’s room, use bright colors, simple shapes, and let the child help choose the design.
- Is it necessary to anchor my boat bookshelf to the wall
- Yes. It is strongly recommended to anchor your boat bookshelf to the wall, especially if it is tall or used in a room with children. Anchoring prevents the bookshelf from tipping if someone pulls on it or tries to climb it.
- Can I modify an existing bookshelf into a boat shape
- You can modify some existing bookshelves into a boat shape if they are tall and narrow and made of solid material. You can cut the top edges into a curved boat shape, add a new back panel, and attach trim to suggest the sides of a boat. Make sure that any cuts do not weaken the structure and that you reinforce it if needed.
Conclusion
Creating your DIY boat bookshelf is not just a rewarding project, but it also brings a unique, nautical charm to any room. With options for customization and safety, these bookshelves offer both functionality and a creative outlet. Making a boat bookshelf can be an enjoyable and fulfilling experience, providing a special and personal touch to your living space.